Supercharge Your Laptop: Ultimate Full Stack Development Setup Guide
Launch on an electrifying full-stack development journey!
This action-packed guide will transform your ordinary laptop into a coding powerhouse, equipping you with the skills to become a highly sought-after tech professional.
Did you know that full-stack developers, who are responsible for designing and building both the front-end and back-end of web applications, are among the most in-demand tech professionals, with a median salary of $106,000 per year? (Source: U.S. Bureau of Labor Statistics, 2021).
It’s time to unleash your potential and launch your career into the stratosphere!
Step 1: Choose Your Battleground – Selecting the Right OS
Your operating system is the foundation of your dev environment. Let’s break down your options:
- Windows: Dominating 77% of the desktop OS market share (StatCounter, 2024), Windows is a powerhouse for .NET development and offers robust WSL (Windows Subsystem for Linux) support.
- macOS: Favored by 16% of developers (Stack Overflow Survey, 2021), macOS provides a Unix-based environment that’s ideal for web and mobile development.
- Linux: The choice of 25% of developers (Stack Overflow Survey, 2021), Linux offers unparalleled customization and is the go-to for many server environments.
Hidden Tip: Evaluate your OS. If you’re on Windows or macOS, you’re good to go. Linux enthusiasts, consider dual-booting for maximum flexibility!
Step 2: Master Version Control with Git
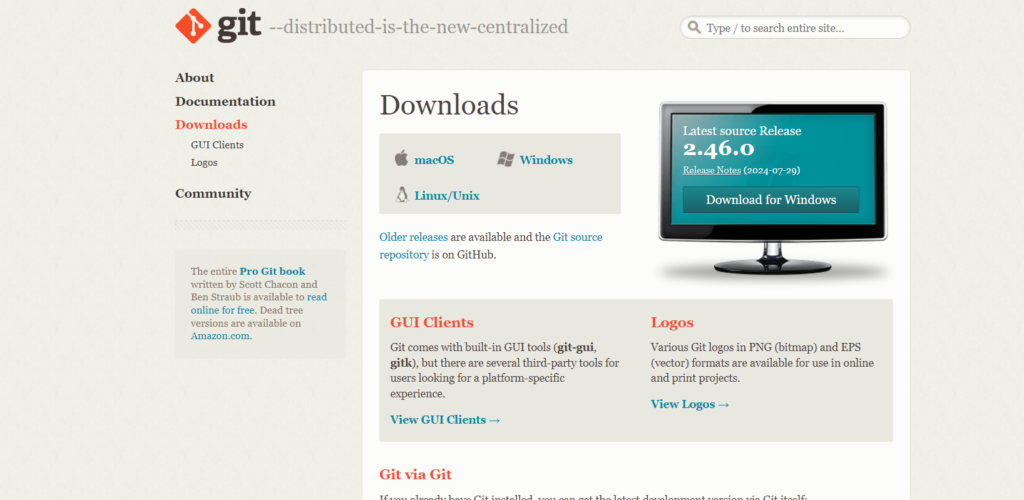
Git is the lifeblood of collaborative coding. With over 100 million repositories on GitHub, it’s a skill you can’t afford to ignore.
- Download Git: Head to git-scm.com and grab the latest version.
- Install Git: Run the installer and accept the defaults (don’t worry, you can tweak these later).
- Verify Installation: Open your terminal (PowerShell on Windows, Terminal on macOS/Linux) and run:
git --versionYou should see something likegit version 2.33.0. If not, troubleshoot by checking your system PATH. - Configure Git: Set up your identity with these commands:
git config --global user.name "Your Name" git config --global user.email "[email protected]"
Pro Tip: Set up SSH keys for secure, password-less GitHub access. Your future self will thank you!
Hidden Tip: Modify src/App.js to display a custom message. Watch as your changes instantly reflect in the browser!
Action Item: Create a GitHub account if you haven’t already. It’s your passport to the open-source world!
Step 3: Arm Yourself with a Powerful Code Editor
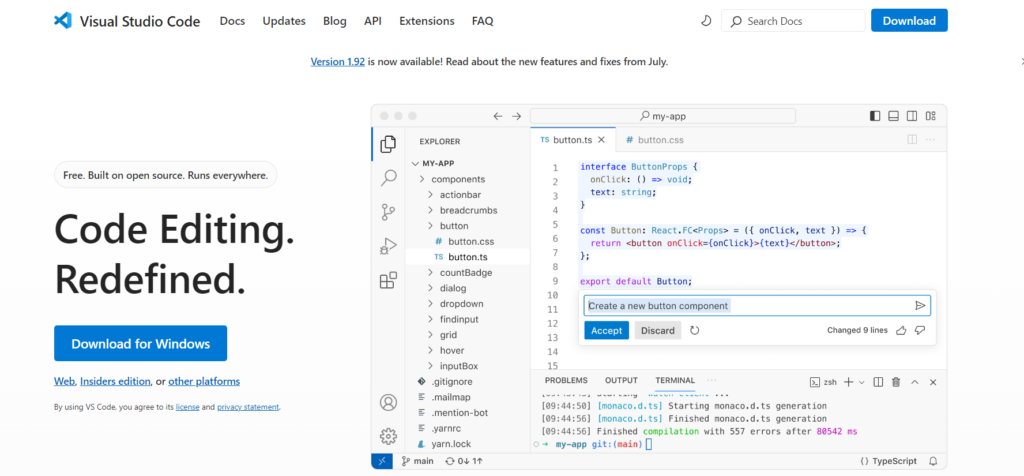
Your code editor is your lightsaber. Choose wisely! We recommend Visual Studio Code (VS Code), used by 71% of developers (Stack Overflow Survey, 2021).
- Download VS Code: Visit code.visualstudio.com and download the appropriate version.
- Install VS Code: Run the installer, following the prompts.
- Launch and Explore: Open VS Code and familiarize yourself with the Command Palette (Ctrl+Shift+P or Cmd+Shift+P).
- Supercharge with Extensions: Install these game-changers:
- ESLint: Your code quality enforcer
- Prettier: Keep your code style consistent
- Live Server: Instant local hosting
- GitLens: Git superpowers within VS Code
Hidden Tip: Set up VS Code sync to back up your settings. Future-proof your setup!
Step 4: Construct Your Backend Fortress with Node.js
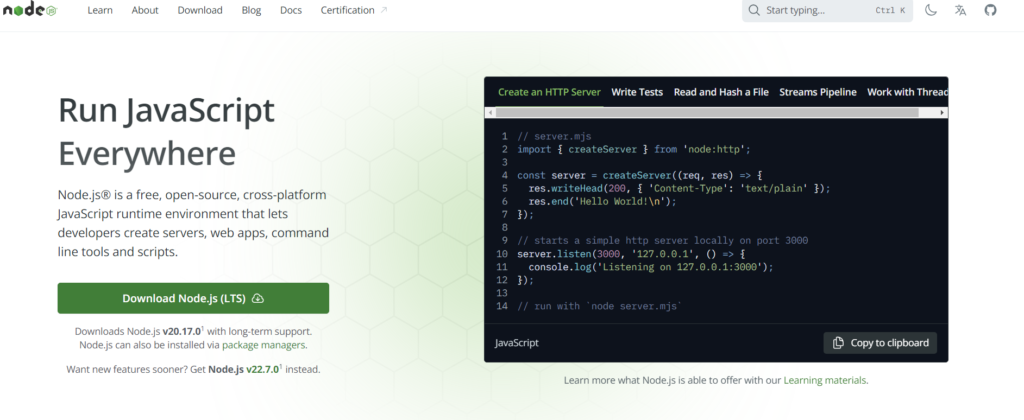
Node.js is the backbone of modern backend development, with over 20 million downloads per month. Let’s get it up and running!
- Download Node.js: Head to nodejs.org and grab the LTS version.
- Install Node.js: Run the installer, accepting the default options.
- Verify Installation: Open your terminal and run:
node --version npm --versionYou should see version numbers for both. If not, check your system PATH. - Initialize a Project: Create your project playground:
mkdir full-stack-domination cd full-stack-domination npm init -yThis creates a new directory and initializes a Node.js project with apackage.jsonfile.
Pro Tip: Consider using nvm (Node Version Manager) for easy Node.js version switching.
Action Item: Explore npm scripts by adding a “start” script to your package.json.
Step 5: Craft a Stunning Frontend with React
React dominates the frontend landscape, powering over 40% of websites using JavaScript libraries. Time to harness its power!
- Create a React App: In your project directory, unleash the power of Create React App:
npx create-react-app client cd client npm startThis scaffolds a new React app in a ‘client’ folder and launches it. - Witness the Magic: A new browser window should open, showcasing your React app. If you see the spinning React logo, you’re golden!
- Explore the Structure: Open the ‘client’ folder in VS Code and familiarize yourself with the file structure.
Hidden Tip: Modify src/App.js to display a custom message. Watch as your changes instantly reflect in the browser!
Step 6: Harness the Power of MongoDB
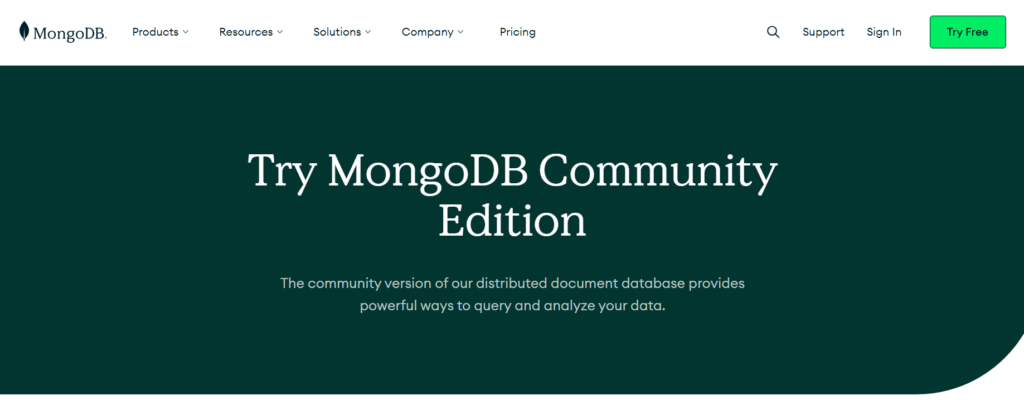
MongoDB, with over 100 million downloads, is the Swiss Army knife of NoSQL databases. Let’s add it to your arsenal!
- Download MongoDB: Visit mongodb.com and download the Community Server.
- Install MongoDB: Run the installer, following the wizard. On Windows, you might need to add it to your PATH manually.
- Verify Installation: Open a new terminal and run:
mongod --versionYou should see the MongoDB version info. - Start MongoDB: Run
mongodto start the MongoDB server.
Pro Tip: Install MongoDB Compass for a GUI that makes database management a breeze.
Action Item: Create a new database named ‘myFirstDB’ using the MongoDB shell.
Step 7: Tie It All Together – The Full Stack Symphony
Now, let’s orchestrate all these powerful tools into a harmonious full stack setup!
- Install Backend Dependencies: In your project root, run:
npm install express mongoose cors dotenvThis installs Express (web framework), Mongoose (MongoDB ODM), CORS (Cross-Origin Resource Sharing), and dotenv (environment variable management). - Create Your Server: In the project root, create
server.jsand add:const express = require('express'); const mongoose = require('mongoose'); const cors = require('cors'); require('dotenv').config(); const app = express(); const PORT = process.env.PORT || 5000; app.use(cors()); app.use(express.json()); mongoose.connect(process.env.MONGODB_URI, { useNewUrlParser: true, useUnifiedTopology: true }); const connection = mongoose.connection; connection.once('open', () => { console.log("MongoDB database connection established successfully"); }) app.get('/', (req, res) => { res.send('Welcome to your full stack app!'); }); app.listen(PORT, () => { console.log(`Server is running on port: ${PORT}`); }); - Create a .env file: In the root directory, create a
.envfile and add:MONGODB_URI=mongodb://localhost:27017/myFirstDB PORT=5000 - Start Your Server: Run:
node server.jsYou should see “Server is running” and “MongoDB connection established” messages.
Create a simple API endpoint that returns a JSON response, and test it using a tool like Postman.
nOW Your Launchpad to Full Stack Mastery
You’ve just established a full stack development environment that rivals those used in top tech companies. Let’s recap your epic achievements:
- Mastered Git, used by 95% of professional developers
- Armed yourself with VS Code, the Swiss Army knife of code editors
- Harnessed Node.js, the backbone of modern web development
- Unleashed the power of React, Facebook’s game-changing frontend library
- Tamed MongoDB, the database of choice for scalable applications
- Orchestrated a full stack symphony with Express, tying it all together
You’re now equipped with a tech stack that powers millions of applications worldwide. The possibilities are endless!
Final Action Item: Create a simple full stack app that allows users to submit and retrieve data. This will cement your understanding of how all these pieces work together.
Remember, Rome wasn’t built in a day, and neither are full stack developers. Keep practicing, stay curious, and don’t hesitate to dive into the vast ocean of online resources and developer communities. Your journey to becoming a full stack virtuoso has just begun!
Essential Add-Ons: Leveling Up Your Full Stack Game
Fortifying Your Full Stack Fortress: Security Best Practices
In the digital wild west, security is your sheriff’s badge. Let’s bulletproof your setup:
- Encrypt Sensitive Data: Use bcrypt to hash passwords before storing them in your database.
- Implement JWT (JSON Web Tokens): Secure your API routes with token-based authentication.
- Use HTTPS: Even for local development, consider using self-signed certificates.
- Input Validation: Never trust user input. Validate and sanitize all data on both client and server sides.
- Keep Dependencies Updated: Regularly run
npm auditand update packages to patch vulnerabilities.
Action Item: Install and configure Helmet.js in your Express app to set various HTTP headers for security.
From Localhost to the World: Mastering Deployment
Your app is ready to conquer the world. Let’s launch it into cyberspace:
- Choose a Hosting Platform: Heroku, DigitalOcean, and AWS are popular choices. We’ll use Heroku for this guide.
- Prepare Your App: Ensure all environment variables are set up correctly.
- Version Control: Make sure your project is in a Git repository and all changes are committed.
- Deploy:
heroku create git push heroku main heroku open - Monitor: Use Heroku’s built-in logging:
heroku logs --tail
Pro Tip: Set up continuous deployment with GitHub Actions or GitLab CI for automatic deploys on push.
Deploy your app to Heroku and share the link with a friend for testing.
Debug Like a Pro: Troubleshooting Your Full Stack App
Bugs are the arch-nemeses of developers. Here’s your debugging utility belt:
- Browser DevTools: Your first line of defense for frontend issues. Master the Console, Network, and Elements tabs.
- Node.js Debugging: Use the built-in debugger or the VS Code debugger for backend code.
- Logging: Implement a logging library like Winston for structured, leveled logging.
- API Testing: Use Postman or Insomnia to test your API endpoints independently of the frontend.
- Error Tracking: Implement Sentry or LogRocket for real-time error tracking and monitoring.
Set up Winston in your Node.js app and add meaningful log messages to your main functions.
Never Stop Learning: Continuing Education for Full Stack Mastery
In tech, standing still is moving backwards. Keep your skills sharp with these resources:
- Online Courses: Platforms like Udemy, Coursera, and freeCodeCamp offer extensive full stack courses.
- Documentation: Make MDN Web Docs, React docs, and Node.js docs your best friends.
- Podcasts: “Syntax” and “JavaScript Jabber” keep you updated on the latest in web dev.
- YouTube Channels: Traversy Media, The Net Ninja, and Web Dev Simplified offer great tutorials.
- Practice Projects: Sites like Frontend Mentor provide real-world project ideas to hone your skills.
Action Item: Sign up for a free account on freeCodeCamp and start their full stack certification course.
Speed Is Key: Optimizing Your Full Stack App’s Performance
A fast app is a loved app. Turbocharge your creation with these optimization techniques:
- Frontend Optimization:
- Use React.memo() and useMemo() to prevent unnecessary re-renders
- Implement code-splitting with React.lazy() and Suspense
- Optimize images and use lazy loading for media
- Backend Optimization:
- Implement caching with Redis to reduce database load
- Use streaming for large data transfers
- Optimize database queries and create appropriate indexes
- Network Optimization:
- Enable GZIP compression on your server
- Use a Content Delivery Network (CDN) for static assets
- Implement HTTP/2 for multiplexed connections
Pro Tip: Use tools like Lighthouse and WebPageTest to measure and monitor your app’s performance.
Hidden Tip: Run a Lighthouse audit on your app and implement at least three suggested optimizations.
Final Thoughts: Your Journey to Full Stack Mastery
Congratulations, intrepid coder! You’ve not just set up a full stack environment; you’ve laid the foundation for a thriving career in one of tech’s most exciting fields. Remember, every line of code you write, every bug you squash, and every feature you implement is a step towards mastery.
As you continue your journey, keep these pillars in mind:
- Always Be Coding (ABC): Consistent practice is the key to improvement.
- Embrace the Community: Join local meetups, contribute to open source, and never be afraid to ask questions.
- Stay Curious: The tech world evolves rapidly. Your ability to learn and adapt is your most valuable skill.
- Build Real Projects: Theory is important, but nothing beats the learning you get from building actual applications.
- Teach Others: Explaining concepts to others is one of the best ways to solidify your own understanding.
Remember, every expert was once a beginner. With dedication, persistence, and the solid foundation you’ve built today, there’s no limit to what you can achieve in the world of full stack development.


