Legacy-Tech Laptop Repair
Remember that legacy old laptop that got you through college? Or perhaps the one that helped launch your first business?
These machines, now considered “legacy-tech,” still have a lot to offer. But what exactly is legacy-tech, and why should we care about repairing these digital dinosaurs?
Definition of Legacy-Tech
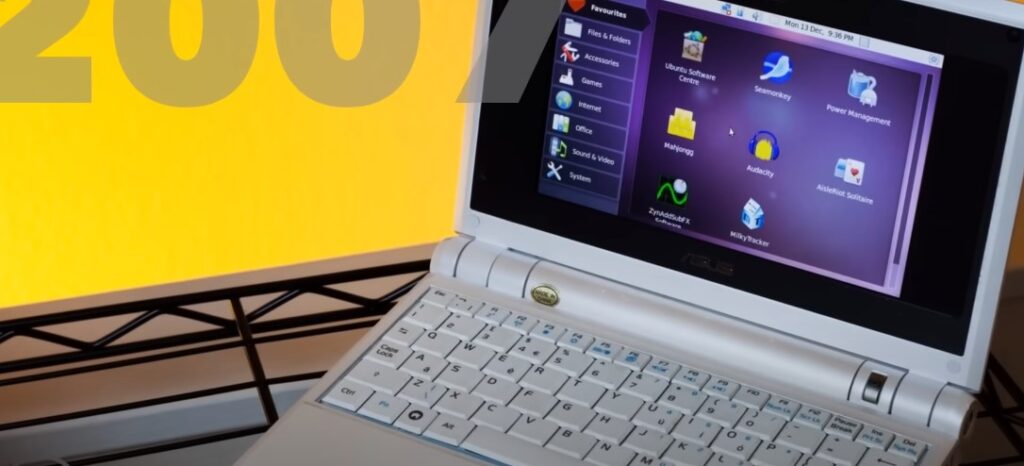
Legacy-tech refers to older computer systems, software, or hardware that, while outdated, continue to be used due to their reliability or the cost of replacing them.
In the laptop world, we’re typically talking about machines that are 5-10 years old or more. These laptops might seem ancient compared to the latest ultrabooks, but they’re far from obsolete.
Many legacy laptops pack enough punch for everyday tasks like web browsing, word processing, and even light photo editing. Plus, they often have features modern laptops lack, like user-replaceable batteries and a plethora of ports.
Importance of Legacy-Tech Laptop Repair
- Preserving Functionality: That old laptop might not run the latest AAA games, but it can still be a productive workhorse for many tasks.
- Cost Benefits: Repairing an old laptop is often significantly cheaper than buying a new one. A $50 RAM upgrade can breathe new life into a machine that would cost $500+ to replace.
- Environmental Impact: Electronic waste is a growing problem. By repairing and reusing old tech, we’re reducing e-waste and conserving resources.
So, ready to dive into the world of legacy laptop repair? Let’s fire up that old machine and get started!
Understanding Legacy-Tech Laptops
Historical Overview
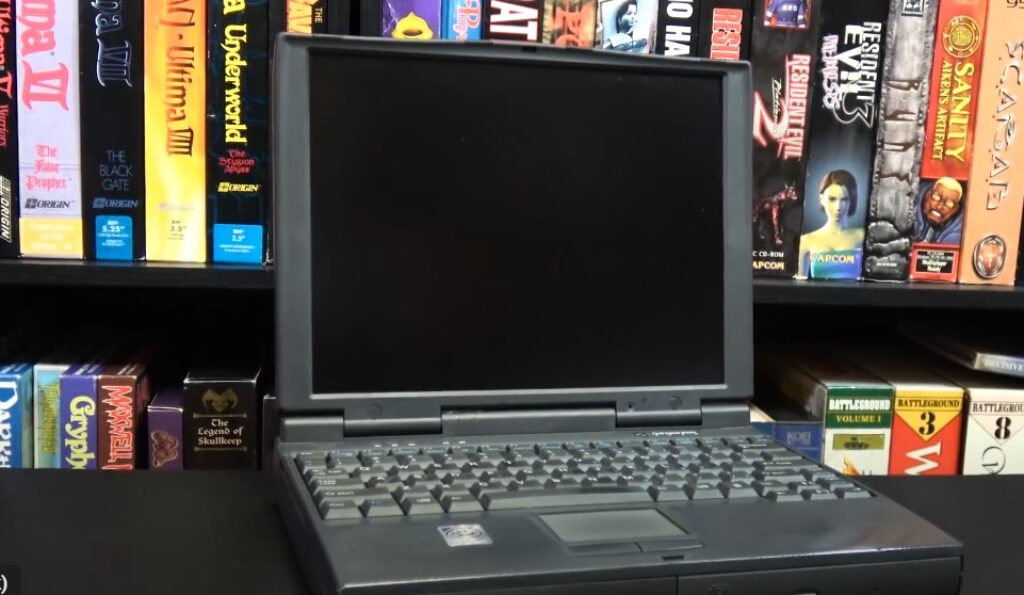
Laptops have come a long way since the early days of luggable computers that weighed as much as a small child. Let’s take a quick trip down memory lane:
- 1981: The Osborne 1, considered the first portable computer, debuts. It weighs 24 pounds and costs $1,795 (about $5,400 in 2024 dollars).
- 1989: NEC UltraLite, the first “notebook” computer, hits the market.
- 1991: Apple introduces the PowerBook series, setting the template for modern laptop design.
- 2008: Apple launches the MacBook Air, kickstarting the ultrabook trend.
- 2012: Microsoft enters the hardware game with the Surface line, blurring the line between tablets and laptops.
Characteristics of Legacy-Tech Laptops
Legacy laptops often share several common features:
- Thicker and Heavier Builds: Before the ultrabook era, laptops prioritized functionality over portability.
- User-Replaceable Components: Many legacy laptops allow easy access to RAM, hard drives, and even CPUs.
- Abundant Ports: Before USB-C, laptops often sported a variety of ports including VGA, Ethernet, and multiple USB-A ports.
- Optical Drives: CD/DVD drives were standard until the early 2010s.
- Non-Soldered RAM and Storage: Unlike many modern laptops, legacy models often allow for easy upgrades.
Popular legacy laptop brands and models include:
- ThinkPad T400, X200 series (known for durability and keyboard quality)
- Dell Latitude E6400, E6500 series (business-class laptops with good upgradeability)
- MacBook Pro models from 2012 and earlier (the last of the easily upgradeable Macs)
- HP EliteBook 8000 series (robust build quality and good performance)
Common Issues with Legacy-Tech Laptops
Hardware Failures
As laptops age, certain components are more prone to failure:
- Hard Drive Failure: Traditional HDDs have moving parts that wear out over time.
- Battery Degradation: Lithium-ion batteries typically last 3-5 years before significant capacity loss.
- Keyboard and Trackpad Wear: Heavy use can lead to worn-out keys or unresponsive trackpads.
- Fan Failure: Dust accumulation and bearing wear can cause cooling fans to fail.
- Screen Issues: Dead pixels, backlight failure, or loose hinges are common in older laptops.
Software Challenges
Software can be just as problematic as hardware in legacy systems:
- Obsolete Operating Systems: Many legacy laptops run outdated OS versions like Windows 7 or macOS High Sierra.
- Driver Incompatibility: Newer peripherals may not have drivers for older operating systems.
- Security Vulnerabilities: Outdated systems may lack crucial security patches.
- Software Compatibility: Modern software often requires newer hardware or OS versions.
Diagnosing Problems
Initial Assessment
Before diving into repairs, it’s crucial to assess the overall condition of the laptop:
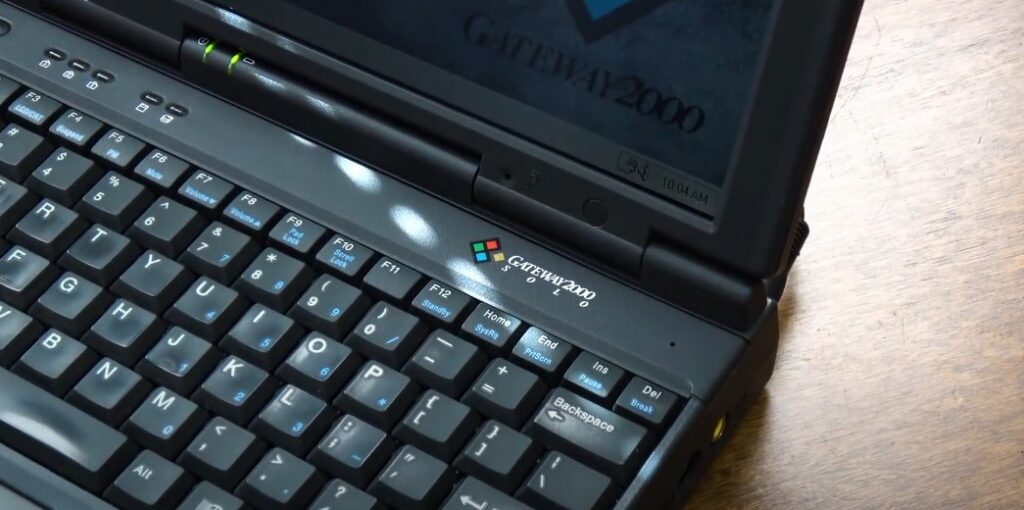
- Visual Inspection: Check for physical damage, swollen batteries, or loose components.
- Power-On Test: Does the laptop boot? Are there any unusual noises or error messages?
- Keyboard and Trackpad Check: Test all keys and trackpad functions.
- Port Check: Ensure all ports are functioning correctly.
- Screen Evaluation: Look for dead pixels, backlight issues, or color distortion.
Tools for Diagnosis
- Multimeter: For testing voltages and continuity.
- Bootable USB Drive: For running diagnostics outside the main OS.
- Compressed Air: For cleaning dust without disassembly.
Common Diagnostic Procedures
- Hardware Diagnostics: Run built-in hardware tests (e.g., Dell ePSA, Lenovo diagnostics). Use third-party tools like MemTest86 for RAM testing. Check hard drive health with tools like CrystalDiskInfo.
- Software Integrity Checks: Run “sfc /scannow” on Windows to check system file integrity. Use Disk Utility on macOS to verify the startup disk. Check system logs for recurring errors or crashes.
Remember, accurate diagnosis is half the battle in laptop repair. Take your time and be thorough!
Repair Techniques
Hardware Repairs
- RAM Upgrade: Identify the type of RAM your laptop uses (e.g., DDR3, DDR4). Purchase compatible RAM modules. Locate the RAM slots (usually under a panel on the bottom of the laptop). Gently remove old RAM and insert new modules.
- Hard Drive Replacement: Back up all data. Remove the old drive (usually accessible via a bottom panel). Install the new drive (consider upgrading to an SSD for a significant speed boost). Reinstall the operating system or clone the old drive.
- Battery Replacement: Purchase a compatible battery (check the model number carefully). For external batteries, simply swap out the old for the new. For internal batteries, you may need to open the laptop case.
- Fan Replacement: Locate the fan (usually requires partial disassembly). Disconnect the fan cable from the motherboard. Remove mounting screws and replace the fan. Apply new thermal paste if the heatsink was removed.
Software Solutions
- Operating System Upgrade: Check hardware compatibility with newer OS versions. Back up all data. Perform a clean install of the new OS.
- Driver Updates: Visit the manufacturer’s website for the latest drivers. Use tools like Driver Booster (Windows) or HomeBrew (macOS) to manage updates.
- Software Compatibility Workarounds: Use virtualization to run newer OS versions. Try compatibility modes for older software. Look for open-source alternatives to unsupported software.
Remember, when in doubt, consult model-specific repair guides or seek help from tech communities. Your legacy laptop will thank you for the TLC!
Tools and Equipment
Essential Tools for Repair
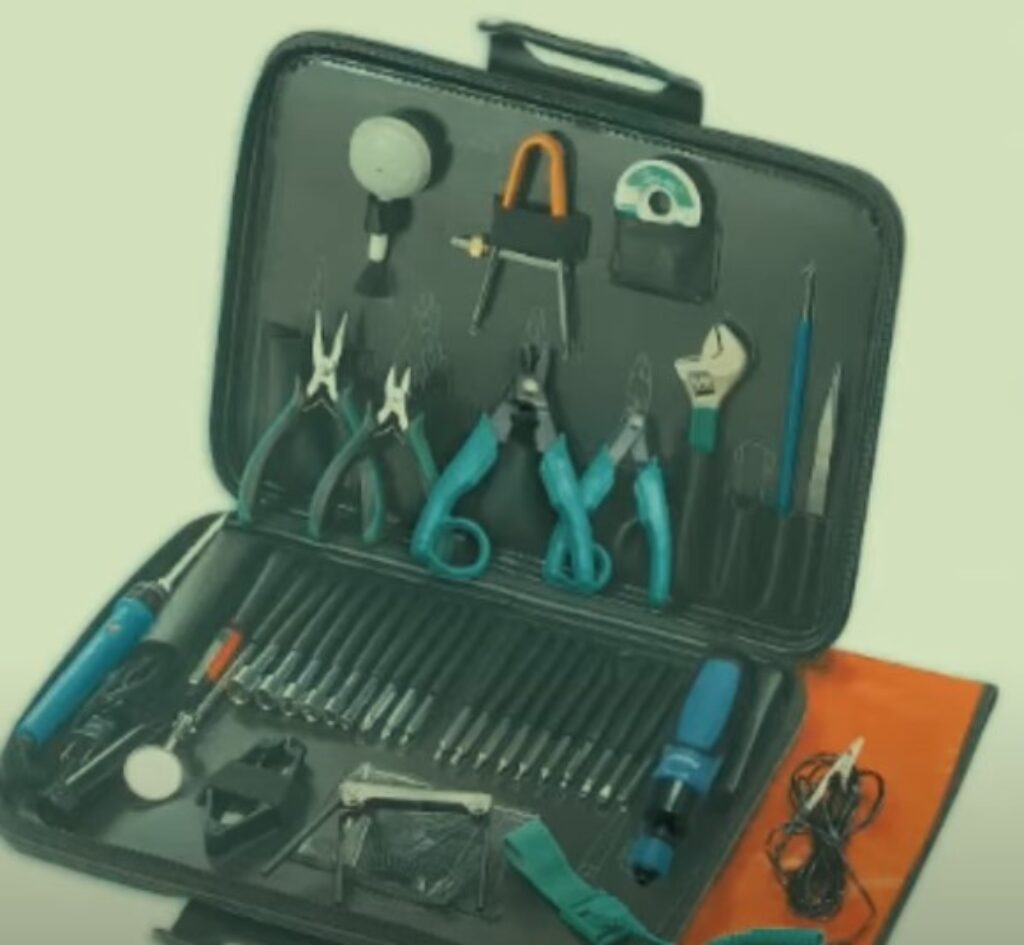
- Screwdriver Set: A good precision screwdriver set is your best friend. Look for one with multiple bits, including Phillips, flathead, and Torx.
- Spudger: This plastic tool is perfect for prying open cases and disconnecting delicate cables.
- Anti-Static Wrist Strap: Protect sensitive components from static discharge.
- Thermal Paste: Essential for CPU and GPU maintenance.
- Compressed Air: For cleaning dust without disassembly.
- Multimeter: For diagnosing power issues and testing components.
- Magnifying Glass: For inspecting small components and reading tiny serial numbers.
Software Tools
- Diagnostic Software: MemTest86 for RAM testing. CrystalDiskInfo for hard drive health checks. CPU-Z for detailed system information.
- Operating System Installation Media: Windows installation USB. macOS bootable drive. Various Linux distros (great for giving old hardware new life).
- Driver Update Tools: Snappy Driver Installer (open-source driver updater for Windows). Apple Software Update for macOS.
- Disk Cloning Software: Clonezilla (open-source, works with multiple OS). Carbon Copy Cloner (for macOS).
Remember, having the right tools can make all the difference between a smooth repair and a frustrating experience!
Safety and Precautions
Handling Sensitive Components
- ESD (Electrostatic Discharge) Precautions: Always use an anti-static wrist strap when working on open hardware. Work on a non-conductive surface (avoid metal tables). Handle components by their edges, avoiding contact with connectors or chips.
- Proper Disassembly and Reassembly Techniques: Take photos at each step of disassembly for reference. Keep screws organized (a magnetic screw tray is handy). Never force components – if something doesn’t fit, you’re probably doing it wrong.
Data Safety
- Data Backup Procedures: Always back up data before any major repair or upgrade. Use external hard drives or cloud storage for backups. Consider creating a full disk image for easy restoration.
- Ensuring Data Integrity During Repairs: If possible, remove the hard drive before other repairs to prevent accidental damage. When upgrading storage, use disk cloning software to transfer all data and settings. After any repair, run a file system check to ensure data integrity.
Remember, the goal is not just to fix the laptop, but to do so without losing any precious data or causing new problems. Safety first!
Case Studies
Successful Repair Stories
- The Lazarus Laptop: A 2011 MacBook Pro came in with a completely dead logic board. After a thorough cleaning and reflow of the GPU, it sprang back to life and is still going strong as a family computer.
- The Poolside Mishap: A ThinkPad X220 took an accidental dip in a pool. Quick action (immediate power-off and disassembly), thorough drying, and a new keyboard brought it back from the brink.
- The Vintage Gamer: An old Dell Inspiron from 2007 got a new lease on life with a RAM upgrade, SSD installation, and a lightweight Linux distro. It now runs retro games smoothly.
Lessons Learned
- Don’t Underestimate Cleaning: Many “dead” laptops simply suffer from dust buildup causing overheating.
- Patience Pays Off: Rush jobs often lead to mistakes. Take your time, especially with delicate components.
- Research is Key: Always consult model-specific guides before attempting repairs.
- Upgrades Can Work Wonders: Often, a simple RAM or SSD upgrade can dramatically improve performance.
- Alternative OS Can Breathe New Life: When Windows becomes too heavy, Linux can often give old hardware a second wind.
These stories show that with the right knowledge and a bit of perseverance, many “dead” laptops can be brought back to life!
Maintenance Tips for Longevity

Regular Maintenance Practices
- Physical Cleaning: Use compressed air to blow out dust from vents and keyboards (every 3-6 months). Wipe down the exterior with a slightly damp microfiber cloth. Clean the screen with a dedicated screen cleaner and microfiber cloth.
- Cooling System Maintenance: Ensure vents are unobstructed during use. Consider using a laptop cooling pad for extended sessions. Reapply thermal paste every 2-3 years for optimal heat dissipation.
- Battery Care: Avoid extreme temperatures. For long-term storage, keep the battery at about 50% charge. Perform a full charge cycle (100% to 0% back to 100%) once a month.
- Hard Drive Maintenance: Regularly defragment HDDs (not necessary for SSDs). Run disk checks to catch and correct errors early.
Software Maintenance
- Keep Software Updated: Regularly update the operating system and applications. If the OS is no longer supported, consider switching to a lightweight Linux distro.
- Security Measures: Use reputable antivirus software and keep it updated. Be cautious about downloading software from unknown sources.
- Regular Backups: Implement a regular backup schedule (weekly or monthly). Use both local and cloud backups for redundancy.
- Disk Cleanup: Regularly remove unnecessary files and programs. Use built-in tools like Disk Cleanup on Windows or OnyX on macOS.
Remember, an ounce of prevention is worth a pound of cure. Regular maintenance can significantly extend your laptop’s lifespan!
Upgrading Legacy-Tech Laptops
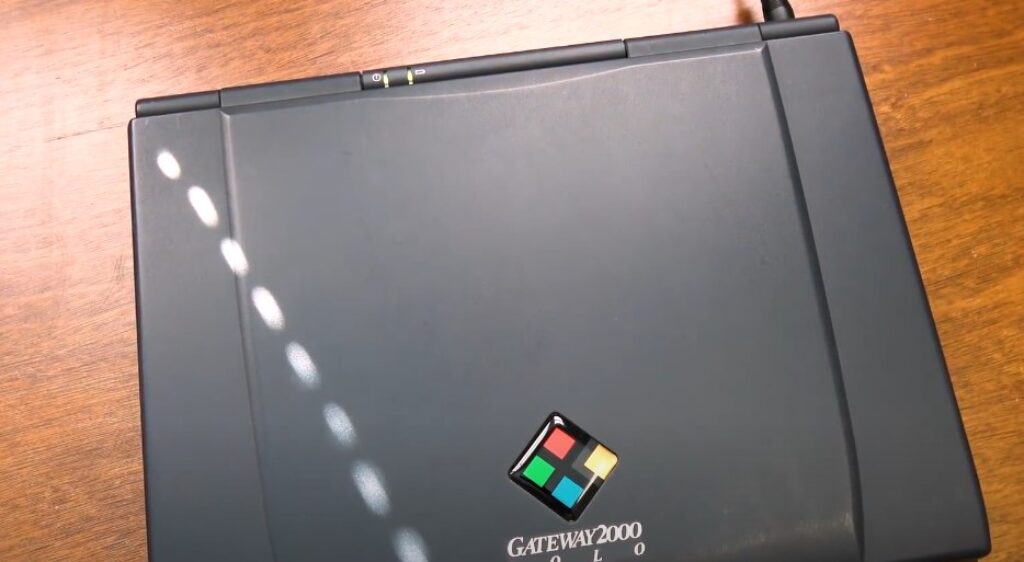
Feasibility of Upgrades
Before upgrading, consider:
- Cost vs. Benefit: Will the upgrade significantly improve performance for your needs?
- Hardware Limitations: Some laptops have limits on RAM or may not support certain SSD types.
- Software Compatibility: Will your OS support the new hardware?
Common Upgrades
- RAM Upgrade: Often the most cost-effective upgrade. Check maximum supported RAM and number of slots. Ensure you purchase the correct type (e.g., DDR3, DDR4).
- Storage Upgrade: Switching from HDD to SSD can dramatically improve speed. Consider capacity needs vs. budget. For laptops with optical drives, you can often add a second drive in place of the DVD drive.
- Battery Replacement: Can significantly improve mobility. Ensure you purchase from a reputable source to avoid counterfeit batteries.
- Wi-Fi Card Upgrade: Can add support for newer Wi-Fi standards (e.g., upgrading to Wi-Fi 5 or 6). Ensure compatibility with your laptop model.
- External GPU (for some models): Can significantly boost graphics performance. Requires a laptop with Thunderbolt port for best results.
Remember, not all upgrades are possible on all laptops. Always research your specific model before purchasing upgrade components.
Finding Professional Repair Services
Choosing a Repair Service
When DIY isn’t an option, here’s what to look for in a professional service:
- Experience with Legacy Hardware: Ensure they’re familiar with older models.
- Positive Reviews: Check online reviews and ask for references.
- Warranty on Repairs: A good shop should stand behind their work.
- Transparent Pricing: Get a clear estimate before authorizing repairs.
- Data Protection Policies: Ensure they have procedures to protect your data.
DIY vs. Professional Repair
- Pros of DIY: Cost-effective, educational experience, immediate gratification.
- Cons of DIY: Risk of further damage, time-consuming, may void warranty (if still applicable).
- Pros of Professional Repair: Expertise and specialized tools, time-saving, often comes with a warranty.
By following this comprehensive guide, you can effectively diagnose, repair, and maintain legacy-tech laptops, ensuring they continue to serve you well for years to come.


