How To Take The Hard Drive From Samsung Laptop
Is your Samsung laptop feeling a bit sluggish?
Don’t despair! Upgrading its hard drive to a lightning-fast solid-state drive (SSD) is easier than you think, and it can breathe new life into your machine.
If you’re running out of space, craving faster boot times, or just want to give your laptop a performance boost, this guide will walk you through the entire process step by step.
Why Make the Switch to an SSD?
- Blazing-Fast Speeds: SSDs can read and write data significantly faster than traditional hard disk drives (HDDs). This translates to lightning-fast boot times, quicker application launches, and smoother multitasking.
- Durability: SSDs have no moving parts, making them less prone to damage from bumps and drops compared to HDDs.
- Energy Efficiency: SSDs consume less power than HDDs, which can extend your laptop’s battery life.
- Quieter Operation: No more annoying whirring sounds from a spinning disk – SSDs are practically silent.
Even if your Samsung laptop already has an SSD, you can still benefit from an upgrade.
Replacing it with a larger SSD can give you more storage space for your files, videos, and games.
If your current SSD uses the SATA interface, upgrading to an NVMe SSD can unleash even greater speed and performance.
Remember to check your laptop’s specifications to ensure it supports NVMe before purchasing an NVMe drive.
Tools of the Trade

Gather these essential tools before you begin your upgrade:
- Phillips-head screwdriver: Choose one with a magnetic tip to keep screws from going astray.
- Plastic pry tool or spudger: This will help you gently pry open your laptop’s case without damaging it.
- Anti-static wrist strap (optional but recommended): This handy device will protect your laptop’s delicate components from static electricity, which can be a real problem if you’re prone to static shocks!
- External hard drive or cloud storage: If you’re planning to replace your hard drive, you’ll need to back up your data beforehand.
Upgrade Your Samsung Laptop’s Hard Drive in 10 Steps
Prepare Your Workspace:

Find a clean, well-lit area with ample space to work. A static-free environment is ideal, so avoid carpeted areas.
Back Up Your Data:
Before you remove your old hard drive, it’s crucial to back up all your important files. You can use an external hard drive, cloud storage, or both for extra security.
Power Down and Disconnect:
Completely shut down your laptop and unplug the power cord. If your model has a removable battery, remove it as well.
Locate the Hard Drive Compartment:
Consult your laptop’s user manual or search online for Your Laptop Model hard drive location.”
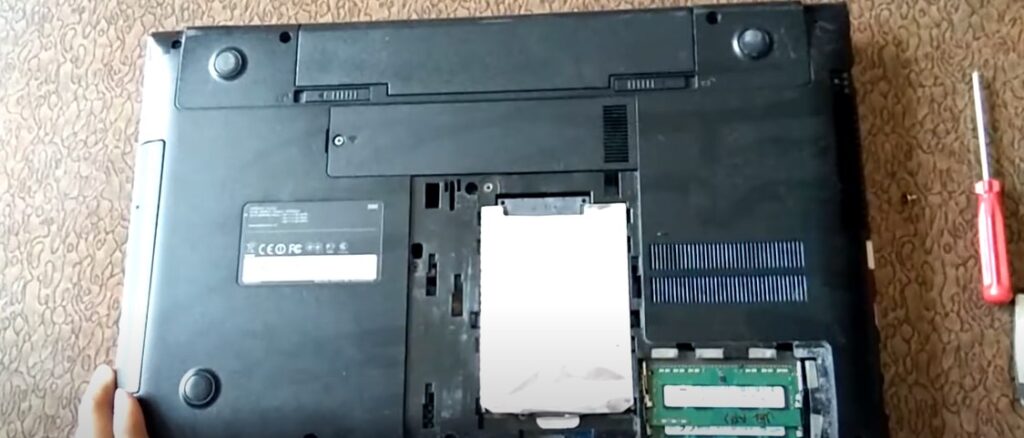
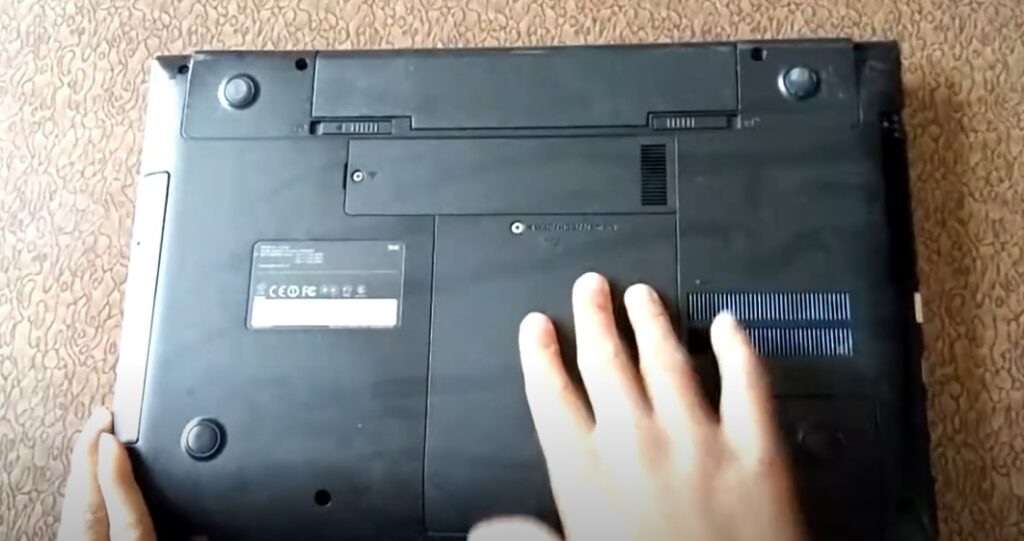
Most Samsung laptops have the hard drive compartment on the underside. hard drive compartment on a specific Samsung model (e.g., Galaxy Book Pro)
Open the Laptop Case:

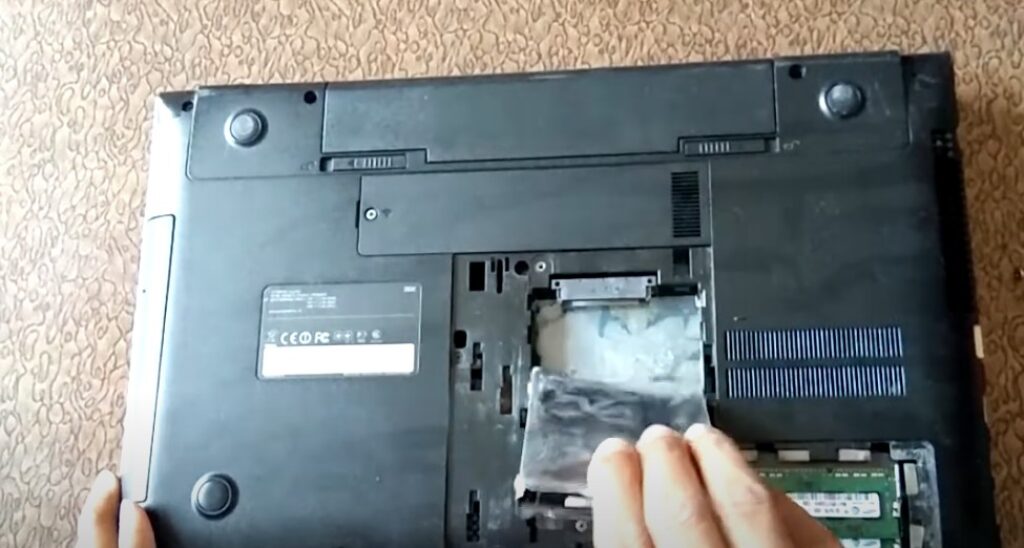
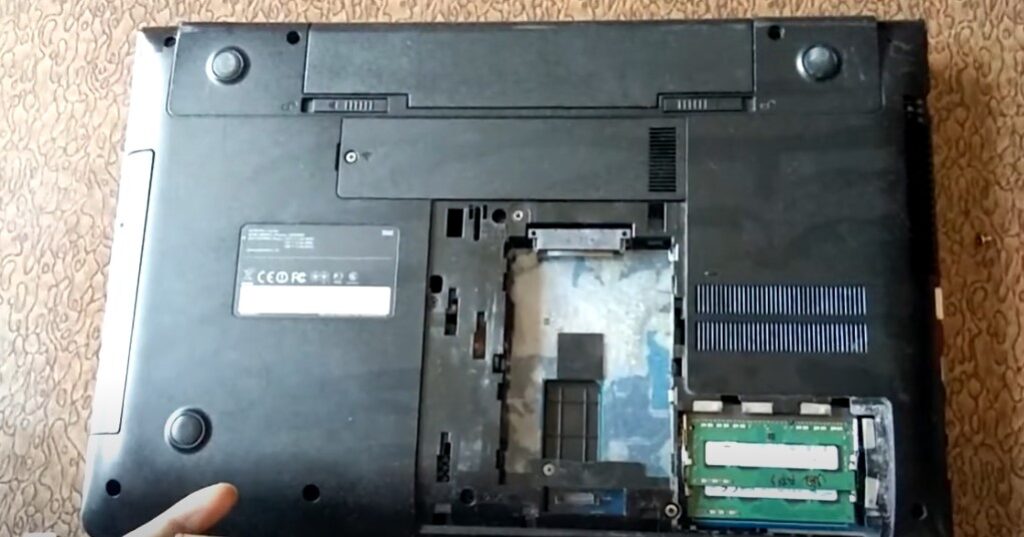
Carefully remove the screws securing the hard drive bay cover. Some models may have additional clips, so use your plastic pry tool to gently release them. laptop with the hard drive bay cover removed
Disconnect the Old Hard Drive:

Identify the hard drive – it’s usually a rectangular box with a SATA or NVMe connector.
Install the New SSD:
SATA SSD: Gently slide the new SSD into the bay, making sure the connector aligns correctly. Secure it with screws (if necessary) and reconnect the SATA cable.
NVMe SSD: Insert the drive into the M.2 slot at a slight angle and press down until it clicks into place. Secure it with the retaining screw.
2.5-inch SATA SSD (for laptops with original NVMe drives): You’ll need an M.2 SATA to 2.5″ SATA adapter bracket. Install the SSD into the bracket, then insert the bracket into the M.2 slot.
Reassemble Your Laptop:

Reattach the hard drive bay cover and tighten the screws. If you removed the battery, put it back in now.
Reinstall Your Operating System:
If you replaced your old hard drive with a new one, you’ll need to reinstall your operating system. Use the bootable USB drive you created earlier to install the operating system on the new SSD.
Restore Your Data:
Once your operating system is up and running, you can restore your files from the backup you created in step 2.
Troubleshooting Tips
- New Drive Not Recognized: If your laptop doesn’t recognize the new SSD, check the BIOS settings to ensure it’s detected. You might need to adjust the boot order.
- Laptop Won’t Boot: Make sure you’ve installed the operating system correctly on the new SSD. If you cloned your old drive, ensure the BIOS is set to boot from the new SSD.
FAQs
Do I need to reinstall Windows after replacing the hard drive?
Yes, if you’re replacing your original hard drive with a new SSD, you’ll need to reinstall the operating system.
Can I use any SSD in my Samsung laptop?
Not necessarily. Check your laptop’s specifications to determine whether it supports SATA or NVMe SSDs and what sizes are compatible.
What is the best way to back up my data?
You can use an external hard drive, cloud storage, or both.
What if I encounter problems during the upgrade process?
You can find helpful tutorials on YouTube or iFixit. If you’re still having trouble, contact Samsung support for assistance.
Your Samsung Laptop, Reborn!
Upgrading your Samsung laptop’s hard drive is a rewarding DIY project that can breathe new life into your machine. With this comprehensive guide and a little patience, you’ll be enjoying a faster, more responsive laptop in no time!
Have you upgraded your laptop’s hard drive? Share your experiences and tips in the comments below!


