how to screen record on asus laptop Like A Pro
Screen recording is a digital Swiss Army knife. If you’re demoing software, creating a how-to video, or just capturing that epic gaming moment, knowing how to screen record on your ASUS laptop is key.
But hey, who wants to wade through clunky software or cryptic instructions? Not me. And I’m guessing, not you either.
So, let’s dive into the methods that actually work, without the headaches.
Unleashing the Power Within: Built-in Recording Tools
Sometimes, the best tools are hiding in plain sight. Your ASUS laptop, running Windows 10 or 11, comes equipped with the Xbox Game Bar. Don’t let the name fool you, this handy tool isn’t just for gamers.

Here’s the lowdown:
Summoning the Game Bar: Hit Win + G on your keyboard. A sleek overlay will appear – that's your Game Bar.

Lights, Camera, Action: Spot the "Capture" widget? Click that record button (or hit Win + Alt + R) and you're rolling! A tiny timer will pop up, confirming your recording is in progress.

That's a Wrap: When you're done, tap the stop button. You'll find your glorious video tucked away in your Videos/Captures folder.
Easy peasy, right? But wait, there’s more…
ASUS sometimes bundles in their own screen recording software. If you spot anything like “ScreenXpert” or “Screen Recorder” in your apps, give it a whirl! These tools can have extra features like webcam recording or custom overlays.
Level Up: Third-Party Screen Recording Champs
If you’re craving more control, or perhaps your built-in tools are being finicky, don’t despair. The world of third-party software is your oyster.
OBS Studio: The Open-Source Powerhouse
OBS Studio is like the command center of screen recording. It’s free, packed with features, but… a tad complex for beginners. If you’re a settings tweaker who loves to tinker, this is your jam.
Here’s a quickstart:
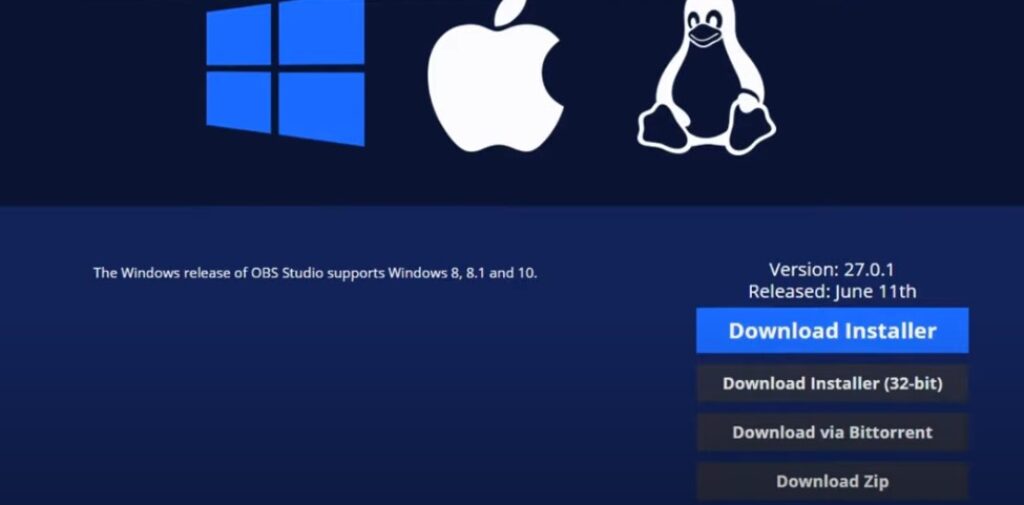
Download and Install: Grab the latest version from the official OBS Studio website.
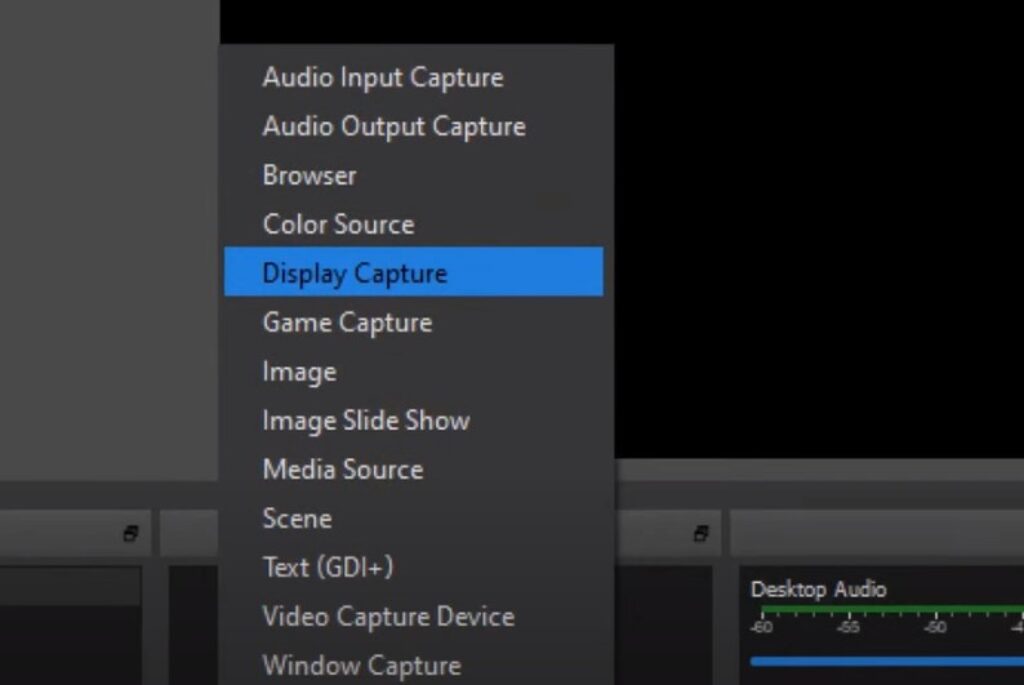
Scene It: Create a new scene, then add a “Display Capture” source to record your screen.
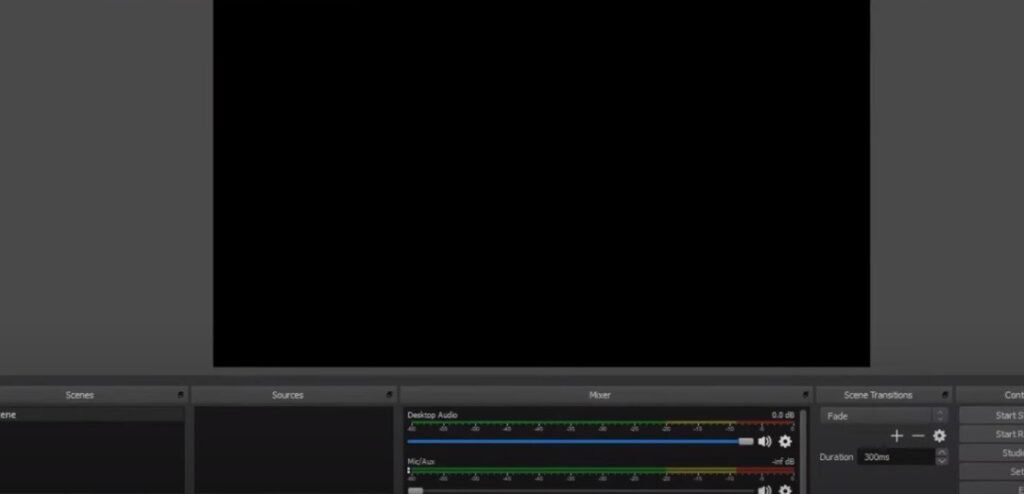
Get It Right: Fine-tune your settings (resolution, frame rate, audio sources) under the “Settings” menu.
Hit Record: Once you’re happy, click “Start Recording.” Stop it when you’re finished.
Find Your Masterpiece: Your recording will be saved in the location you specified in the settings.
Camtasia: User-Friendly and Feature-Rich
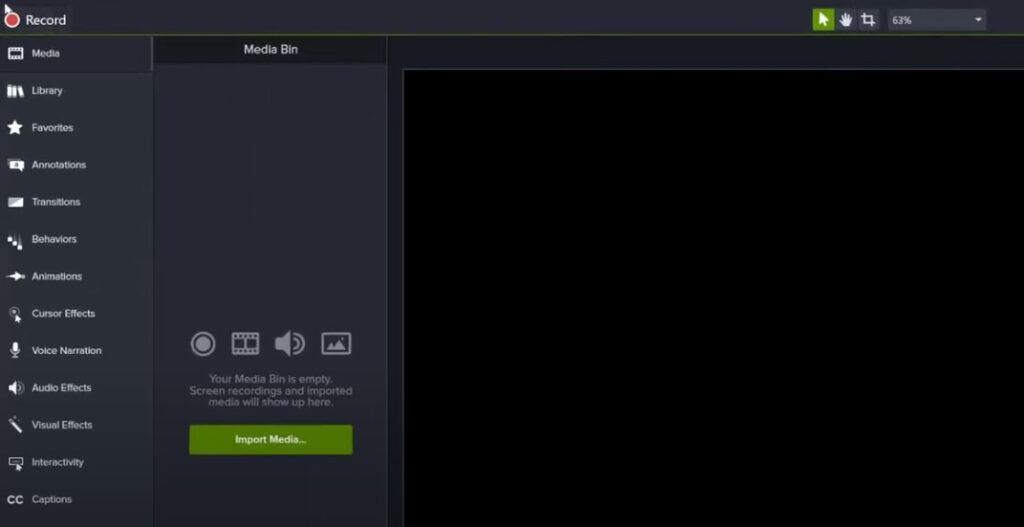
If OBS Studio is the spaceship, Camtasia is the luxury sedan. It’s intuitive, slick, and has a boatload of editing tools to make your videos shine.
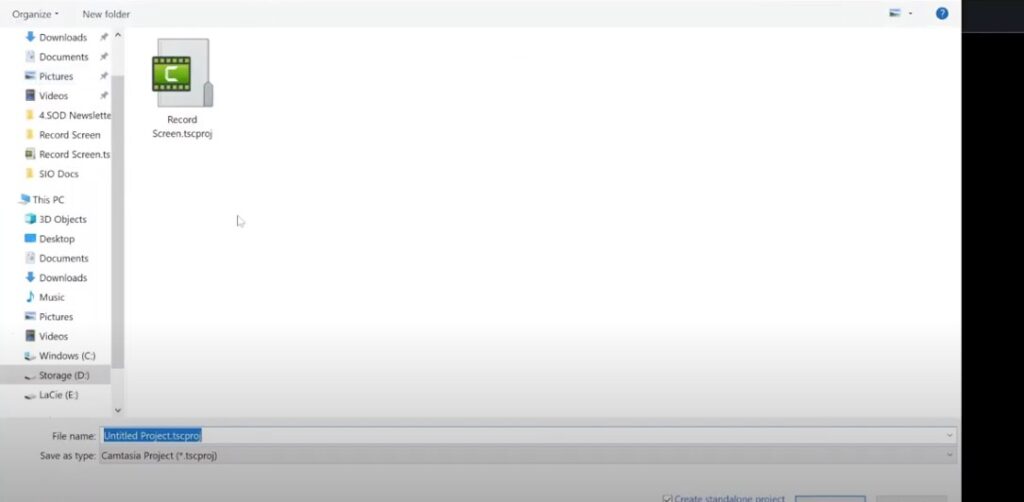
Installation and usage are a breeze. Just download, install, follow the prompts, and you’ll be recording in no time. The intuitive interface makes it a cinch to trim, add annotations, or even throw in some music.
Other Contenders:
Plenty of other apps are vying for your attention. Bandicam is great for gamers, while Screencast-O-Matic offers a user-friendly online option. Explore and see which one tickles your fancy.
How to Screen Record Like a Pro on Your ASUS Laptop
Now that you’ve got the basics down, let’s crank up the quality and finesse of your ASUS laptop recordings. It’s time to dive into settings, customization, and a bit of troubleshooting magic.
Getting Your Settings Just Right: It’s All in the Details
Remember, a great screen recording isn’t just about capturing the action. It’s about how you capture it. Let’s break down the key settings you need to master:
1. Picking Your Recording Zone: Full Screen vs. Select Area
First things first, decide what you want to show. Need to capture your entire desktop? Go for full screen. Want to highlight a specific window or region?
Select that area. Most screen recording tools give you these options, usually with a simple click or drag.
2. Audio: System Sounds or Your Voice?
A silent video can be as exciting as watching paint dry. Choose your audio sources wisely:
- System Audio: This captures everything happening on your laptop – game sounds, notifications, music, the works.
- Microphone Audio: Want to add commentary or narration? This is your friend.
- Both: Combine them for a truly immersive experience.
Most tools let you toggle these options on and off, often with a handy microphone and speaker icon.
3. Video Quality: Balancing Beauty and Bytes
Ah, the eternal struggle. High-quality video means larger file sizes. But who wants a pixelated mess? Here’s how to strike the right balance:
- Resolution: 1080p (1920×1080) is the sweet spot for most videos. Go higher for super crispness, or lower (720p) for smaller files.
- Frame Rate: Aim for 30fps for smooth playback. If you’re recording fast-paced action, bump it up to 60fps.
Check your recording tool’s settings for options to adjust video bitrate and codec. These affect quality and file size too.
Customization: Adding Your Personal Touch
Plain vanilla screen recordings can get a bit boring. Spice things up with these customization options:
- Webcam Overlay: Add a “picture-in-picture” view of yourself, perfect for tutorials and presentations.
- Custom Cursor: Change the color, size, or even add a fun animation to your cursor.
- Annotations and Callouts: Draw arrows, circles, or add text during your recording to highlight important areas.
Most third-party tools offer a wealth of customization features. Get creative!
Troubleshooting: When Things Go Awry
Okay, so you hit record, and… nothing. Or maybe you get a choppy video with garbled audio. Don’t panic! Here are some common issues and their fixes:
1. Performance Problems: Lagging and Stuttering
This usually means your laptop is struggling to keep up. Try these tips:
- Close Unnecessary Apps: Free up those precious resources.
- Lower Video Quality: Reduce resolution and frame rate if needed.
- Update Graphics Drivers: Make sure your graphics card is running at peak performance.
2. Audio Issues: No Sound or Poor Quality
Check these settings:
- Audio Sources: Are you recording from the correct input? (System audio, microphone, or both?)
- Microphone Settings: Ensure your mic is working properly and not muted.
- Audio Drivers: Outdated drivers can cause problems. Update them!
3. File Saving Woes: Where Did My Recording Go?
- Check the Save Location: Verify where your tool is storing recordings.
- Disk Space: Make sure you have enough storage space available.
- File Format: Choose a format that works for your needs (MP4 is usually a safe bet).
Your ASUS Laptop, Your Screen Recording Powerhouse
With these tips and tricks, you’re well on your way to becoming a screen recording maestro on your ASUS laptop. Experiment, find the tools and settings that work for you, and unleash your creativity!


