How To Reimage Mac Laptop?
Reimaging your Mac laptop, also known as a clean install or factory reset, is a powerful way to troubleshoot persistent issues, improve performance, or prepare your device for a new owner.
While it might sound intimidating, the process is surprisingly straightforward. Let’s break it down into manageable steps.
When to Reimage Your Mac
- Persistent software issues or malware infections
- Significant performance degradation
- Preparing the device for a new user
- Standardizing multiple Macs for business or educational use
Pre-Reimaging Checklist
Before you begin, ensure you:
- Back up all important data using Time Machine or a third-party solution
- Note down any important software licenses or settings
- Ensure you have a stable internet connection
- Connect your Mac to a power source
Method 1: Using macOS Recovery
This built-in tool is the simplest way to reimage your Mac for most users.
Steps:

- Restart your Mac and immediately hold Command (⌘) + R until the Apple logo appears
- Select “Disk Utility” from the macOS Utilities window
- Choose your startup disk (usually named “Macintosh HD”)
- Click “Erase” and confirm the action
- Exit Disk Utility
- Select “Reinstall macOS” and follow the prompts
Note: This method installs the latest macOS version compatible with your Mac.
Method 2: Creating and Using a Bootable Installer

This method allows you to install a specific macOS version.
Steps:
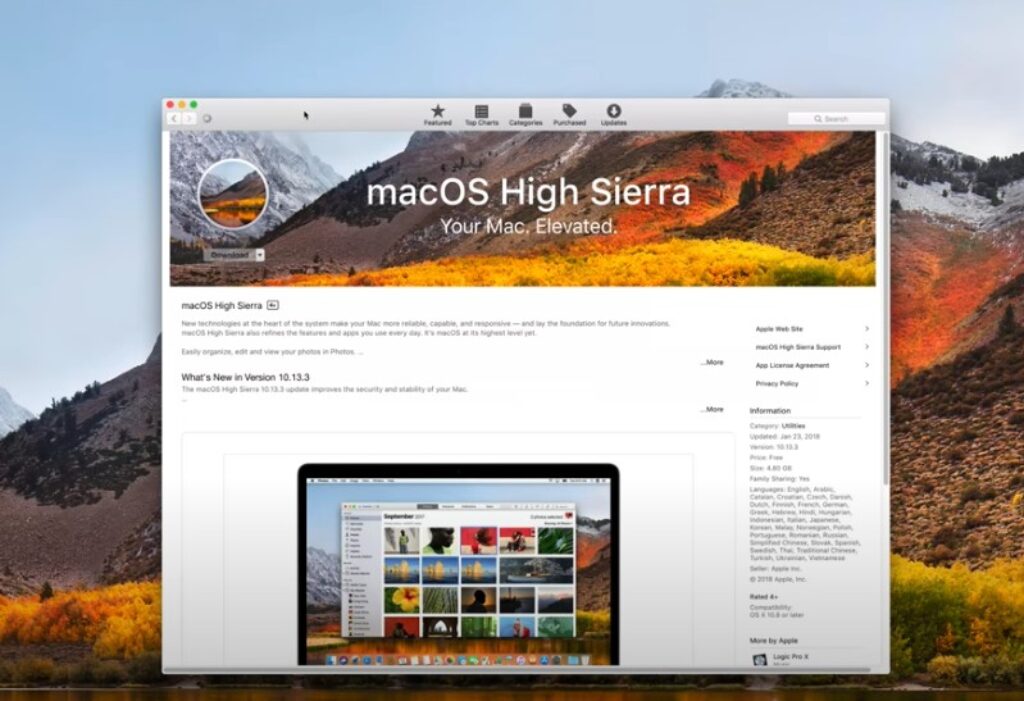
- Download the desired macOS version from the App Store
- Prepare a USB drive (at least 16GB)
- Open Terminal and use the
createinstallmediacommand
sudo /Applications/Install\ macOS\ [Version].app/Contents/Resources/createinstallmedia --volume /Volumes/MyVolume
- Replace
[Version]with the actual version name andMyVolumewith your USB drive’s name - Restart your Mac and hold Option (⌥) key
- Select the bootable installer from the startup menu
- Follow the installation process, including erasing the disk
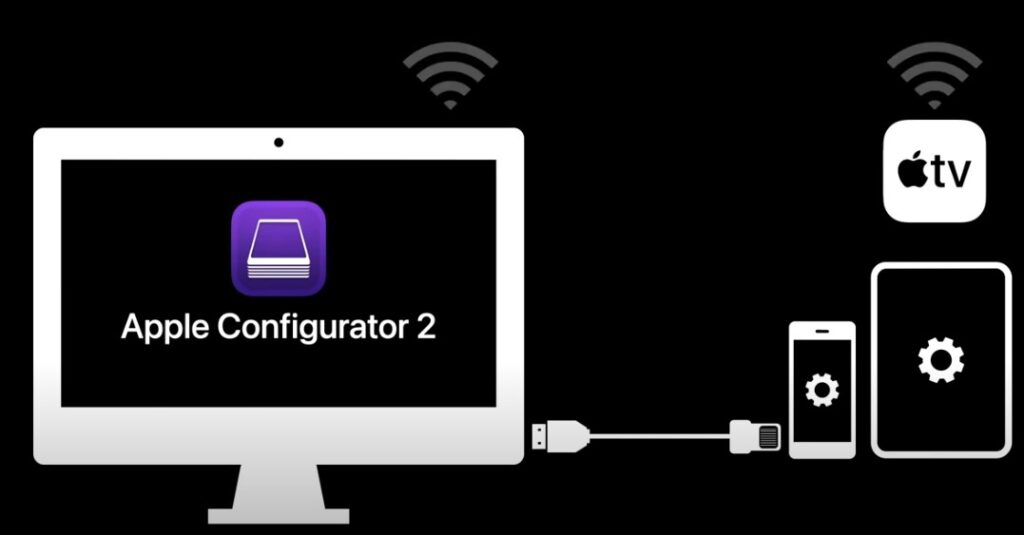
Method 3: Using Apple Configurator 2 (For Multiple Devices)

Ideal for businesses or schools managing multiple Macs.
Steps:
- Download Apple Configurator 2 from the App Store on another Mac
- Create a “Blueprint” with your desired OS and applications
- Connect the Mac to be reimaged via USB
- Apply the Blueprint to the connected Mac
- Follow the on-screen instructions to complete the process
Method 4: Network-based Reimaging (Advanced)
For large-scale deployments in enterprise environments.
Steps:
- Set up a NetBoot or NetInstall server
- Create a disk image with your desired configuration
- Boot the target Mac into Network Disk Mode (hold N during startup)
- Select the network disk image and follow the installation process
Post-Reimaging Steps
After reimaging:
- Install any necessary updates
- Restore your data from backups
- Reinstall applications and enter license information
- Reconfigure system settings as needed
Troubleshooting Common Issues
- “macOS could not be installed” error: Ensure you have a stable internet connection and sufficient storage space
- Bootable installer not recognized: Recreate the installer or try a different USB drive
- Stuck on Apple logo: Try booting in Safe Mode (hold Shift during startup) and then attempt the reimaging process again
Best Practices and Tips
✅Always maintain an up-to-date backup of your data
✅Document your current setup before reimaging for easier reconfiguration
✅Consider creating a custom disk image for faster future reimaging
✅Regularly update your macOS to ensure compatibility with the latest software
Conclusion
Reimaging your Mac can be a powerful tool for resolving issues and starting fresh. By following this guide, you can choose the method that best suits your needs and technical comfort level. Remember, while reimaging can solve many problems, it’s a significant operation that should be approached with caution and proper preparation.
If you’re a home user looking to refresh your personal Mac or an IT professional managing a fleet of devices, mastering the reimaging process will help you maintain optimal performance and functionality of your Mac laptops.


