How to Fix a Loose Laptop Plug?
A loose laptop plug can be frustrating and potentially dangerous. It can lead to inconsistent charging, power fluctuations, and even damage to your laptop’s charging port.
Understanding the Problem: Why is My Laptop Plug Loose?
Before we jump into the fixes, it’s important to understand why your laptop plug is loose in the first place.
- Wear and Tear: The most common culprit is simple wear and tear. Over time, the constant plugging and unplugging of your charger can loosen the connection within the charging port.
- Physical Damage: A drop or bump can sometimes bend the charging port’s internal components or damage the solder joints, leading to a loose connection.
- Manufacturing Defects: In some rare cases, a loose plug might be due to a manufacturing defect.
Is It the Plug or the Port?
Sometimes, the issue lies not with the laptop’s charging port itself but with the charger plug. Here’s a quick way to check:
- Try a Different Charger: If you have another compatible charger, try using it. If the new charger fits snugly, the problem is likely with your original charger plug.
- Inspect the Plug: Look closely at the plug’s metal prongs. Are they bent or damaged? If so, it’s time to replace the charger.
Step 1: Diagnose the Problem
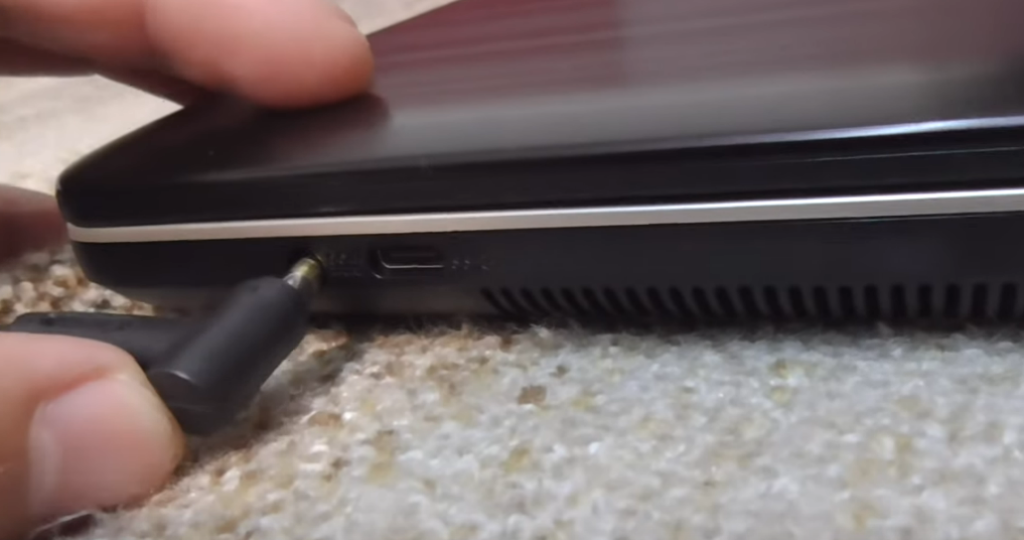
Before attempting any fixes, identify the exact issue:
- Is the plug loose in the wall outlet?
- Is the connection between the power brick and cord loose?
- Is the plug loose when inserted into the laptop’s charging port?
Carefully examine each connection point to pinpoint the problem area.
Step 2: Check the Wall Outlet
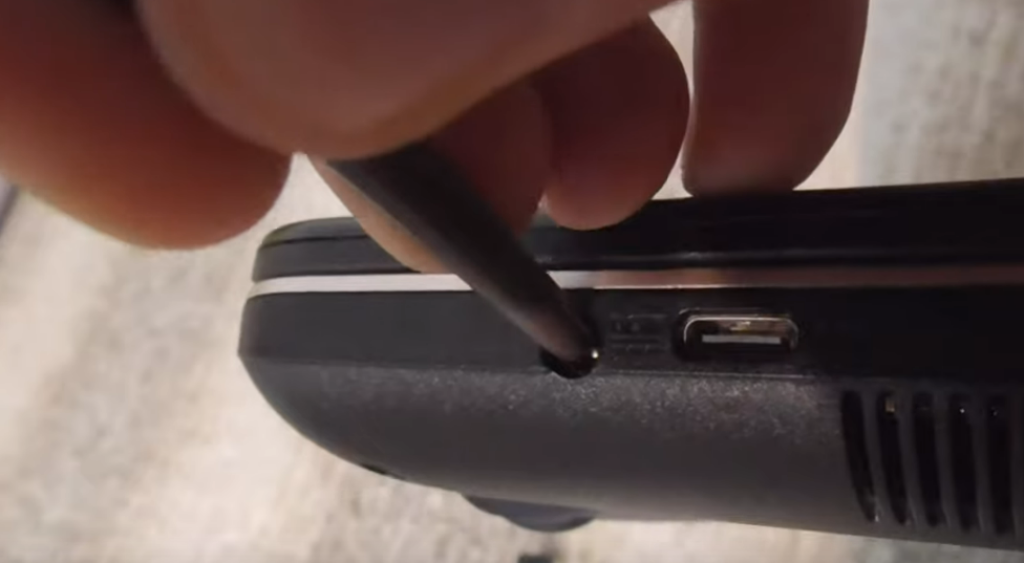
If the plug is loose in the wall outlet:
- Try plugging the charger into a different outlet to rule out a faulty wall socket.
- If the problem persists across outlets, the prongs on your charger might be bent. Gently straighten them using pliers, being careful not to break them.
- If the wall outlet itself is loose, do not attempt to fix it yourself. Contact a licensed electrician.
Safety Tip: Never insert metal objects into an electrical outlet or attempt to modify it.
Step 3: Address Power Brick Connection Issues
For a loose connection between the power brick and cord:
- Examine the connection point for any visible damage or debris.
- Gently clean the connection with a dry cloth or compressed air.
- If the connection is modular, ensure it’s properly seated and locked in place.
- For non-modular designs, check for any loose or exposed wires. If found, it’s best to replace the entire charger.
Warning: Do not attempt to open the power brick. It contains high-voltage components that can be dangerous.
Step 4: Fix a Loose Plug in the Laptop’s Charging Port
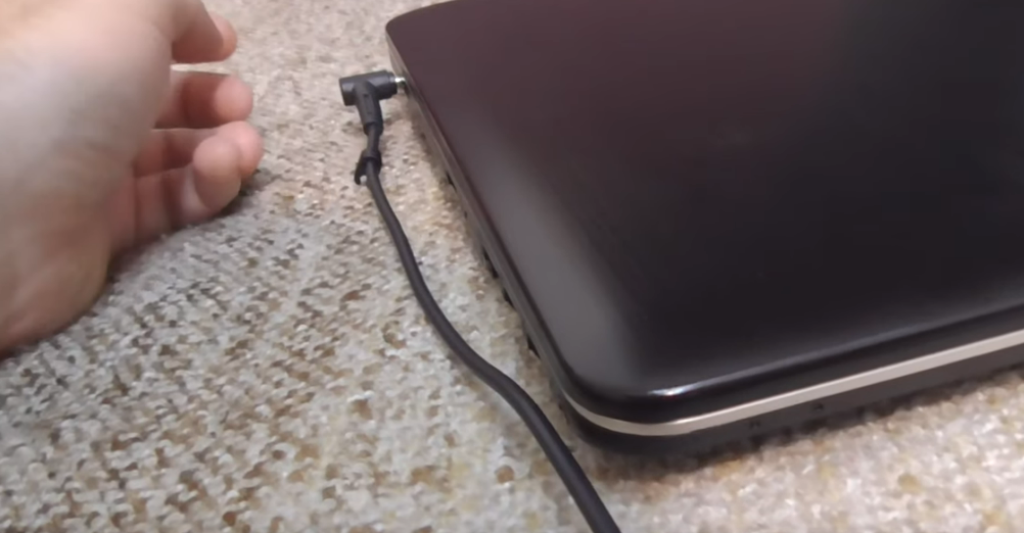
If the plug is loose when inserted into your laptop:
- Inspect the charging port for debris or damage. Use a flashlight for a better view.
- Carefully clean the port with compressed air or a soft brush.
- Check the plug for bent pins or damage. If damaged, replace the charger.
- If the port itself seems loose or damaged, this likely requires professional repair.
Caution: Never insert metal objects into the charging port, as this can cause a short circuit.
Step 5: Consider Professional Repair
If DIY methods don’t work, seek professional help:
- Contact the laptop manufacturer if your device is under warranty.
- Visit a certified repair shop for out-of-warranty repairs.
- Be prepared to potentially replace the charging port or the entire charger.
Professional repair is often the safest option for internal component issues.
Preventive Measures
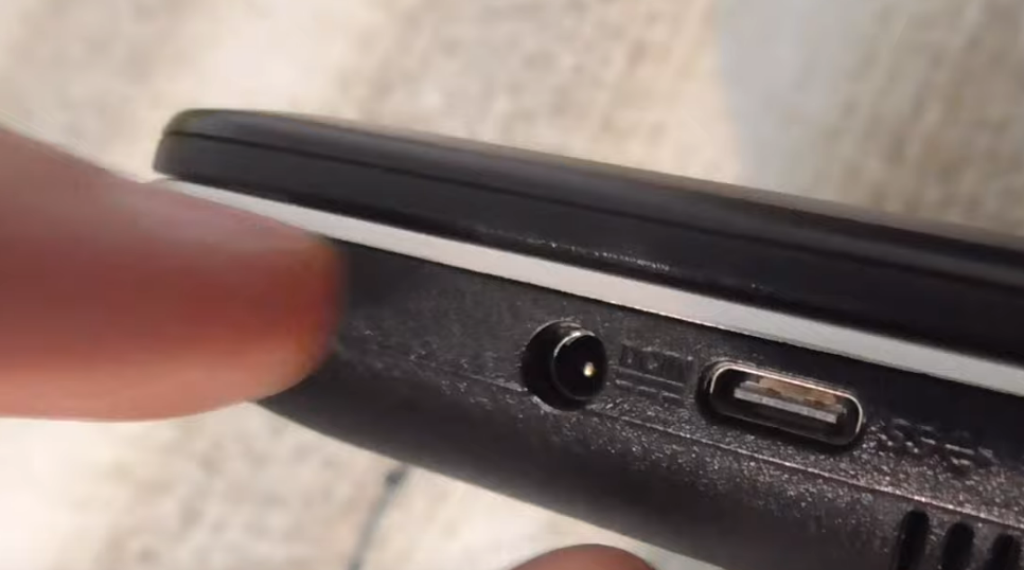
To avoid future issues with loose laptop plugs:
- Always grasp the plug, not the cord, when unplugging.
- Avoid bending the cord at sharp angles, especially near connection points.
- Use a surge protector to safeguard against power fluctuations.
- Keep your charging equipment in a safe place when not in use.
- Regularly inspect your charger and ports for signs of wear or damage.
DIY Fixes: Reclaim Your Charging Port
If the problem is with your laptop’s charging port, here are a few DIY fixes you can try, depending on your comfort level and the severity of the issue.
- The “Wiggle and Pray” Method (Temporary Fix):
- Sometimes, a simple wiggle of the charger plug while it’s plugged in can temporarily establish a connection. This isn’t a permanent fix, but it might get you through a pinch.
- The “Tweezers Trick” (For Slightly Loose Connections):
- If the connection is only slightly loose, you can try gently squeezing the metal prongs on the charger plug closer together with a pair of tweezers.
- Caution: Be very careful not to damage the prongs or the charging port.
- The “Toothpick and Super Glue” Method (For More Severe Cases):
- If the charging port is significantly loose, you might need a more drastic approach.
- Carefully insert a toothpick into the charging port alongside the charger plug to provide support.
- Then, apply a small amount of super glue around the base of the charging port to secure it in place.
- Caution: This is a more permanent fix and should only be attempted if you’re comfortable with the risk.
Troubleshooting Common Issues
Why does my laptop only charge at certain angles?
This usually indicates a problem with the charging port or the charger’s connector. Try cleaning both the port and connector. If the issue persists, the charging port may need professional repair or replacement.
Is it safe to use a third-party charger if my original one is loose?
While third-party chargers can be a temporary solution, it’s best to use chargers certified by your laptop’s manufacturer. Uncertified chargers may not provide the correct voltage and could potentially damage your laptop.
Ensuring a Secure Laptop Power Connection
A loose laptop plug can be more than just an inconvenience—it can potentially damage your device. By following these steps, you can often resolve the issue safely.
Remember, when in doubt, especially with internal components, it’s always best to consult a professional. Regular maintenance and careful handling of your charging equipment can prevent many issues before they start.


