Cracked Laptop Screen 101: Causes, Diagnosis, & DIY Repair Solutions
Shattered dreams and a spiderweb of cracks. If you’re reading this, chances are you’ve experienced the gut-wrenching moment of a broken laptop screen.
It’s like your digital life just flashed before your eyes, and the repair bill is already looming in the distance.
But don’t despair just yet! Before you resign yourself to the expense of a professional fix or, worse, the landfill, take a deep breath. You might be surprised to learn that fixing a broken laptop screen isn’t the Herculean task it seems.
I’ll delve into the common culprits behind those shattered screens, equip you with the knowledge to diagnose the damage, and most importantly, walk you through the steps to replace that screen yourself.
We’ll even sprinkle in some temporary fixes for those in a pinch and offer tips on preventing future mishaps.
So, grab your toolkit (and a dose of courage) – it’s time to resurrect your laptop from the digital graveyard.
Common Causes of Broken Laptop Screens
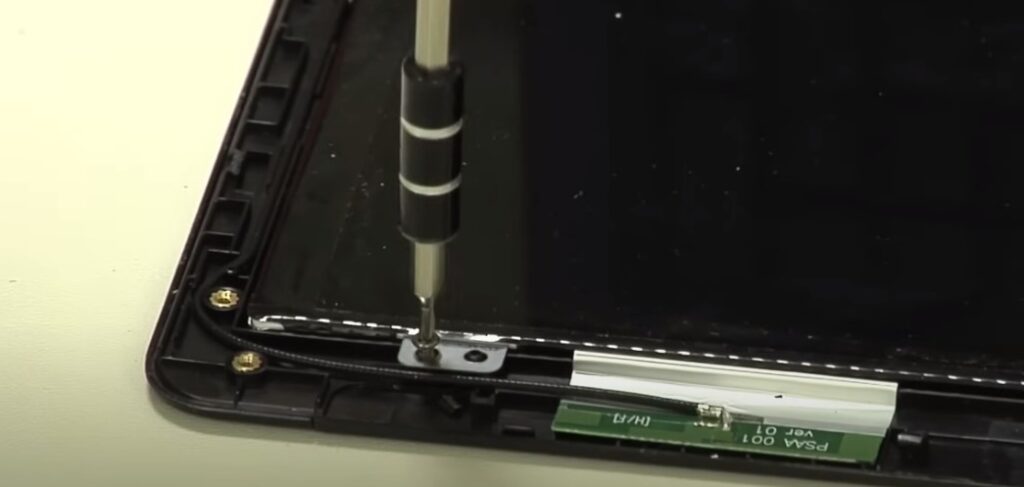
There are many things that can cause a laptop screen to break. Some of the most common causes include:
- Physical impact: This is the most common cause of broken laptop screens. If you drop your laptop, bump it against something, or put too much pressure on it, the screen can crack or shatter.
- Manufacturing defects: Sometimes, bigger laptop screens can be defective from the factory. This is less common, but it can still happen.
- Wear and tear: Over time, laptop screens can wear out and become more susceptible to damage.
- Temperature extremes: Exposing your laptop to extreme temperatures, such as very hot or very cold environments, can damage the screen.
- Handling mishaps: Dropping your laptop, spilling liquid on it, or closing it too hard can all damage the screen.
- Pressure damage: Putting too much pressure on the screen, such as pressing down on it with your finger or a pen, can damage the screen.
- Aging components: The components that make up a laptop screen can age and fail over time. This can cause the screen to flicker, display strange colors, or go out completely.
- Power surges: A power surge can damage the electrical components of the laptop screen.
- Software glitches: In some cases, a software glitch can cause the laptop screen to malfunction.
Diagnosing Screen Damage
Before you can fix your laptop screen, you need to diagnose the problem. Here are some tips:
Visual inspection: Look for any cracks, scratches, or other damage to the screen.
Testing screen connections: Check the connections between the screen and the motherboard.
Pixel and color tests: Use a software program to test the pixels and colors on the screen.
Backlight testing: Check if the backlight is working properly.
Checking for cracks: Look for any small cracks in the screen.
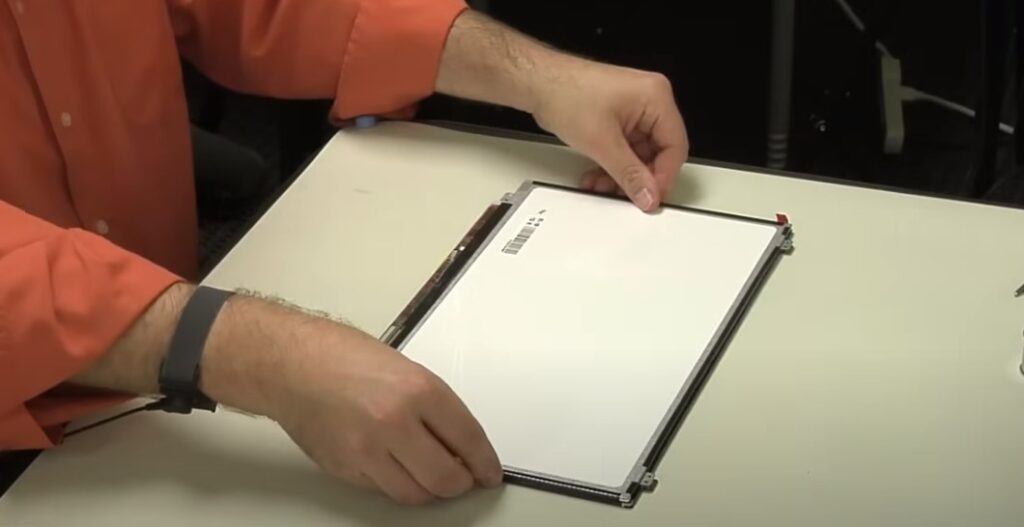
Identifying dead pixels: Look for any dead pixels on the screen.
Intermittent screen issues: If the screen is flickering or going out intermittently, it could be a sign of a loose connection or a failing component.
External display testing: Connect your laptop to an external display to see if the problem is with the laptop screen or the graphics card.
Diagnostic software: You can use diagnostic software to test the screen for any problems.
BIOS and boot screen analysis: Check the BIOS and boot screen to see if there are any error messages.
Checking cables and connectors: Check the cables and connectors that connect the screen to the motherboard.
Flickering screen causes: If the screen is flickering, it could be caused by a loose connection, a failing backlight, or a problem with the graphics card.
Touchscreen diagnostics: If you have a touchscreen laptop, you can use a software program to test the touchscreen for any problems.
Shadowing and ghosting effects: If you see shadowing or ghosting effects on the screen, it could be a sign of a failing backlight or a problem with the graphics card.
Analyzing screen artifacts: Screen artifacts are strange visual distortions that appear on the screen. They can be caused by a number of things, including a failing graphics card, a loose connection, or a problem with the screen itself.
Damage from liquid spills: If you spill liquid on your laptop, it can damage the screen. If this happens, it’s important to turn off your laptop immediately and remove the battery. You should then take your laptop to a professional for repairs.
Inverter board issues: The inverter board is the component that powers the backlight. If the inverter board fails, the screen will be dark.
External monitor comparison: Compare the image on your laptop screen to the image on an external monitor. If the image on the laptop screen is distorted or discolored, it’s likely that the screen is damaged.
Temporary Fixes for Broken Screens
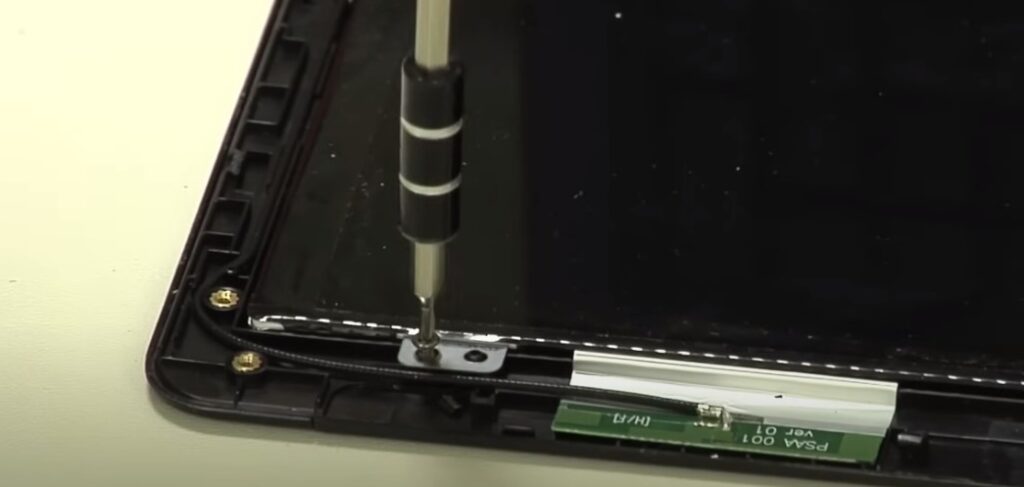
If your laptop screen is broken, there are a few temporary fixes you can try:
- External monitor: You can connect your laptop to an external monitor. This will allow you to use your laptop even if the screen is broken.
- Screen magnifiers: You can use a software program to magnify the screen. This can help you see the screen more easily if it is cracked or shattered.
- Applying pressure on specific areas: In some cases, applying pressure to specific areas of the screen can temporarily fix the problem.
- Using screen extenders: You can use a screen extender to extend the image on your laptop screen to an external monitor. This can be helpful if you need to use multiple monitors.
- Tape fixes: You can use tape to temporarily fix a cracked or shattered screen. This is not a long-term solution, but it can help you get by until you can get your screen replaced.
- Adjusting display settings: You can try adjusting the display settings on your laptop. This may help to improve the image quality on the screen.
- Keyboard shortcuts for screen adjustments: There are a number of keyboard shortcuts that you can use to adjust the screen on your laptop. These shortcuts can be helpful if you are having trouble seeing the screen.
- Mobile device as a secondary screen: You can use your mobile device as a secondary screen for your laptop. This can be helpful if you need to use multiple monitors.
- Screen dimming techniques: You can use screen dimming techniques to reduce the brightness of the screen. This can help to improve the battery life of your laptop.
- Color inversion: You can use color inversion to invert the colors on the screen. This can help to improve the visibility of the screen in low-light conditions.
- Software solutions: There are a number of software solutions that can help to improve the image quality on your laptop screen. These solutions can be helpful if you are having trouble seeing the screen.
- Portable projectors: You can use a portable projector to project the image from your laptop screen onto a wall or other surface. This can be helpful if you need to give a presentation or watch a movie on a larger screen.
- Temporary sealants: You can use a temporary sealant to seal a crack or shatter in the screen. This is not a long-term solution, but it can help to prevent the damage from getting worse.
- DIY anti-glare films: You can make your own anti-glare film to reduce glare on the screen. This can be helpful if you work in a bright environment.
- Plastic covers: You can use a plastic cover to protect the screen from scratches and other damage.
Tools Needed for Screen Repair
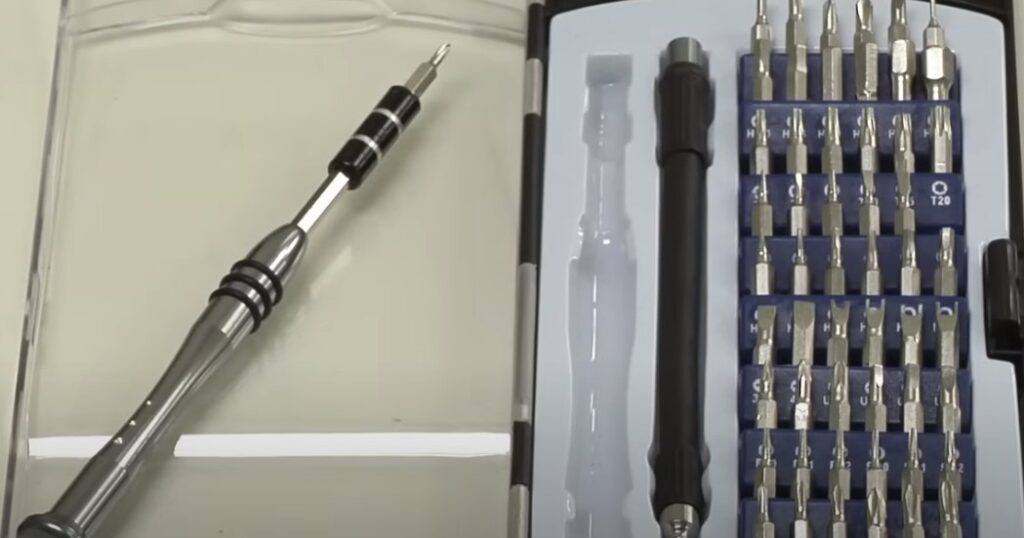
If you want to replace your laptop screen, you will need the following tools:
Safety Precautions for Screen Repair
When repairing your laptop screen, it is important to take safety precautions. Here are a few tips:
- Electrostatic discharge (ESD) protection: ESD can damage the delicate components in your laptop. To protect yourself from ESD, wear an anti-static wrist strap and ground yourself to a metal object.
- Proper ventilation: When using heat guns or soldering irons, it is important to work in a well-ventilated area.
- Handling sharp objects: Be careful when handling sharp objects, such as knives and screwdrivers.
- Eye protection: Wear eye protection when working with heat guns or soldering irons.
- Avoiding liquid damage: Do not spill any liquids on your laptop.
- Safe tool usage: Use the correct tools for the job.
- Powering down device: Always power down your laptop before working on it.
- Safe work environment: Work in a safe and clean environment.
- Proper disposal of old screens: Dispose of old screens properly.
- Fire safety precautions: Be aware of fire safety precautions when working with heat guns or soldering irons.
- First aid preparedness: Be prepared to treat any injuries that may occur.
- Handling chemical solvents: Be careful when handling chemical solvents.
- Avoiding overheating components: Do not overheat any components of your laptop.
- Minimizing dust and particles: Minimize dust and particles in your work area.
- Keeping workspace organized: Keep your workspace organized to avoid accidents.
- Secure holding of device: Securely hold your device to prevent it from falling.
- Correct disassembly methods: Use the correct disassembly methods to avoid damaging your laptop.
- Protective clothing: Wear protective clothing, such as gloves and safety glasses.
- Safe soldering practices: Follow safe soldering practices.
- Avoiding strain and fatigue: Take breaks to avoid strain and fatigue.
How to Replace a Laptop Screen
Replacing a laptop screen can be a daunting task, but with the right tools and guidance, you can successfully revive your laptop’s display. Before you begin, ensure you have the necessary replacement screen, tools, and a well-lit workspace.
Preparation Steps
- Power Down: Shut down your laptop completely and disconnect it from the power source.
- Remove Battery: If possible, remove the battery to prevent any accidental power-ups during the repair process.
- Prepare Tools: Gather all the necessary tools, including screwdrivers, pry tools, and anti-static wrist straps.
- Ground Yourself: Put on the anti-static wrist strap and connect it to a grounded metal object to avoid damaging sensitive components with static electricity.
Removing the Bezel
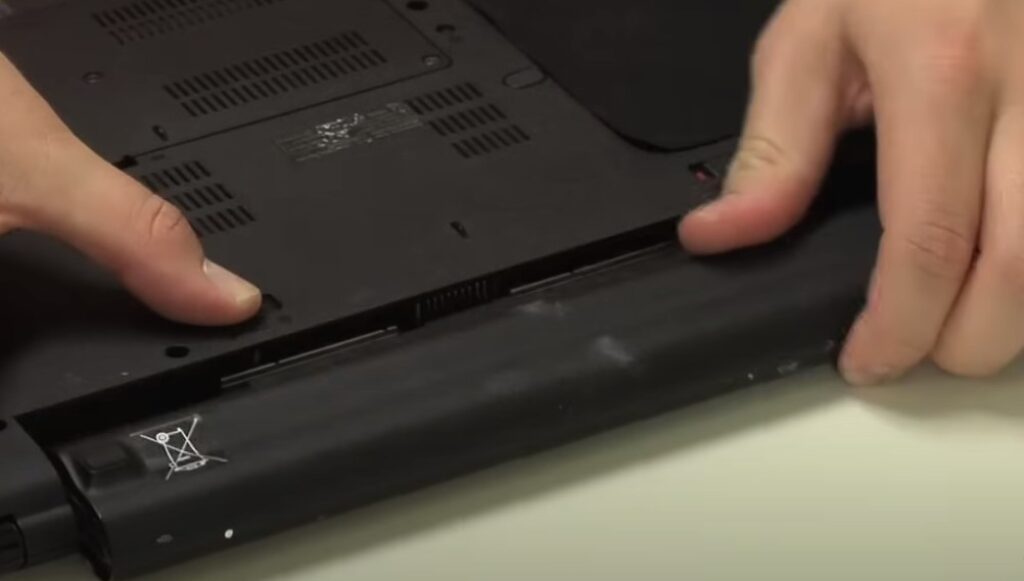
- Locate Screws: Look for screws around the screen bezel (the plastic frame surrounding the screen). They might be hidden under rubber covers or stickers.
- Loosen Screws: Carefully remove the screws, keeping them organized for reassembly.
- Pry Open Bezel: Use a plastic pry tool to gently pry open the bezel, starting from the corners. Be cautious not to damage the screen or the bezel itself.
Disconnecting Cables
- Identify Cables: Locate the display cable(s) connecting the screen to the motherboard. These are usually flat, ribbon-like cables.
- Unlock Connectors: Gently unlock the connectors securing the cables. This may involve flipping up a small tab or sliding a lock mechanism.
- Disconnect Cables: Carefully disconnect the cables from the motherboard.
Removing the Damaged Screen
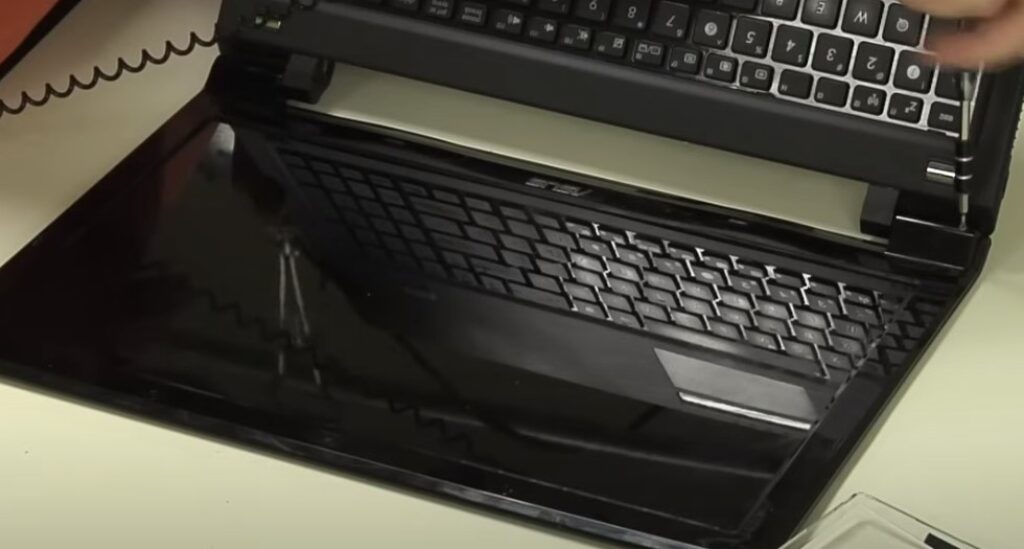
- Locate Screws: Find the screws holding the screen to the laptop’s frame.
- Remove Screws: Remove the screws and carefully lift the damaged screen away from the frame.
Installing the New Screen
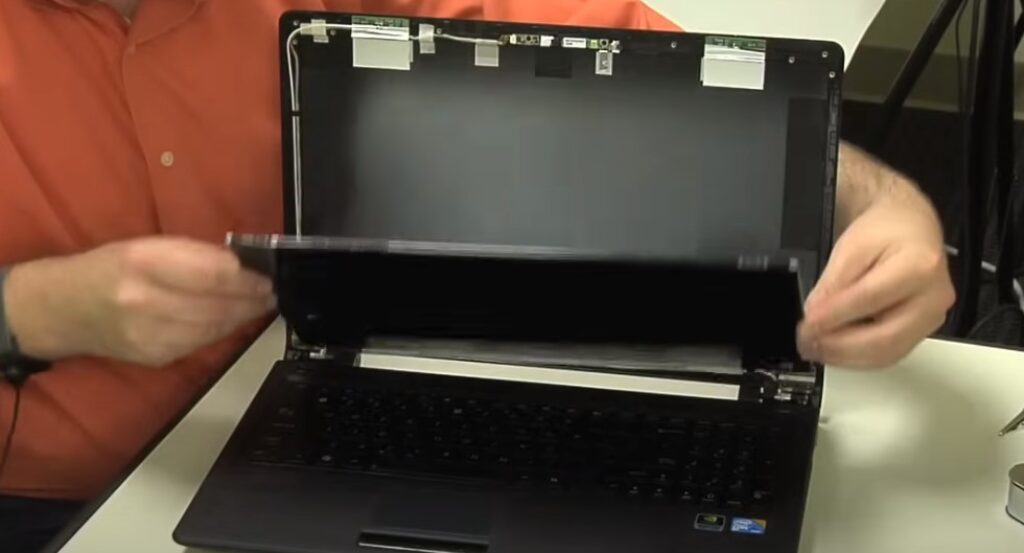
- Align Screen: Carefully align the new screen with the mounting points on the frame.
- Secure Screws: Insert and tighten the screws to secure the new screen in place.
- Connect Cables: Reconnect the display cables to the motherboard, ensuring they are securely locked in the connectors.
- Reattach Bezel: Align the bezel with the frame and gently snap it back into place. Secure any screws you removed earlier.
- Reinstall Battery: Reinsert the battery if you removed it earlier.
Testing the New Screen
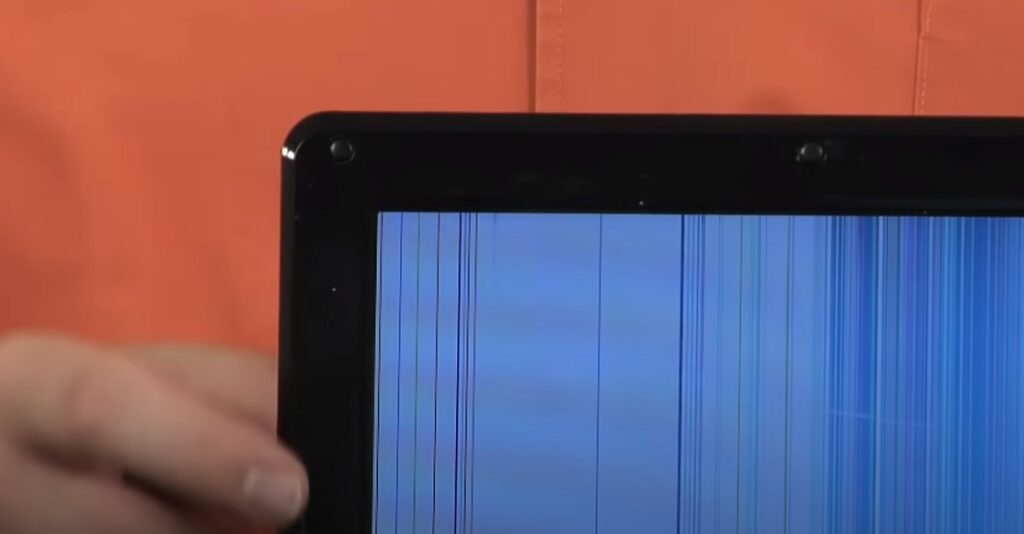
- Power On: Connect the power adapter and turn on your laptop.
- Check Display: Ensure the new screen displays properly and there are no issues with colors, brightness, or flickering.
Common Mistakes to Avoid
- Forcing Components: Don’t force any parts or connections. Be gentle throughout the process to avoid damage.
- Losing Screws: Keep track of all screws and small parts to ensure a smooth reassembly.
- Misaligning Screen: Ensure the new screen is properly aligned before securing it with screws.
- Ignoring ESD Protection: Always wear an anti-static wrist strap to prevent electrostatic discharge.
Reassembly Tips
- Reverse Steps: Follow the removal steps in reverse order for reassembly.
- Cable Management: Ensure cables are neatly routed and not pinched.
- Clean Screen: Gently clean the new screen with a microfiber cloth before reattaching the bezel.
Final Adjustments
- Calibrate Display: If necessary, adjust the display settings for optimal brightness, contrast, and color.
- Check Touchscreen: If your laptop has a touchscreen, verify that it is working correctly after the replacement.
By following these steps and taking necessary precautions, you can successfully replace your broken laptop screen and restore your laptop’s functionality. Remember, if you are unsure or uncomfortable with any step, it’s always best to consult a professional technician.


