Laptop Video Recording: Your Unvarnished Roadmap to Cinematic Brilliance
Easiest Way:
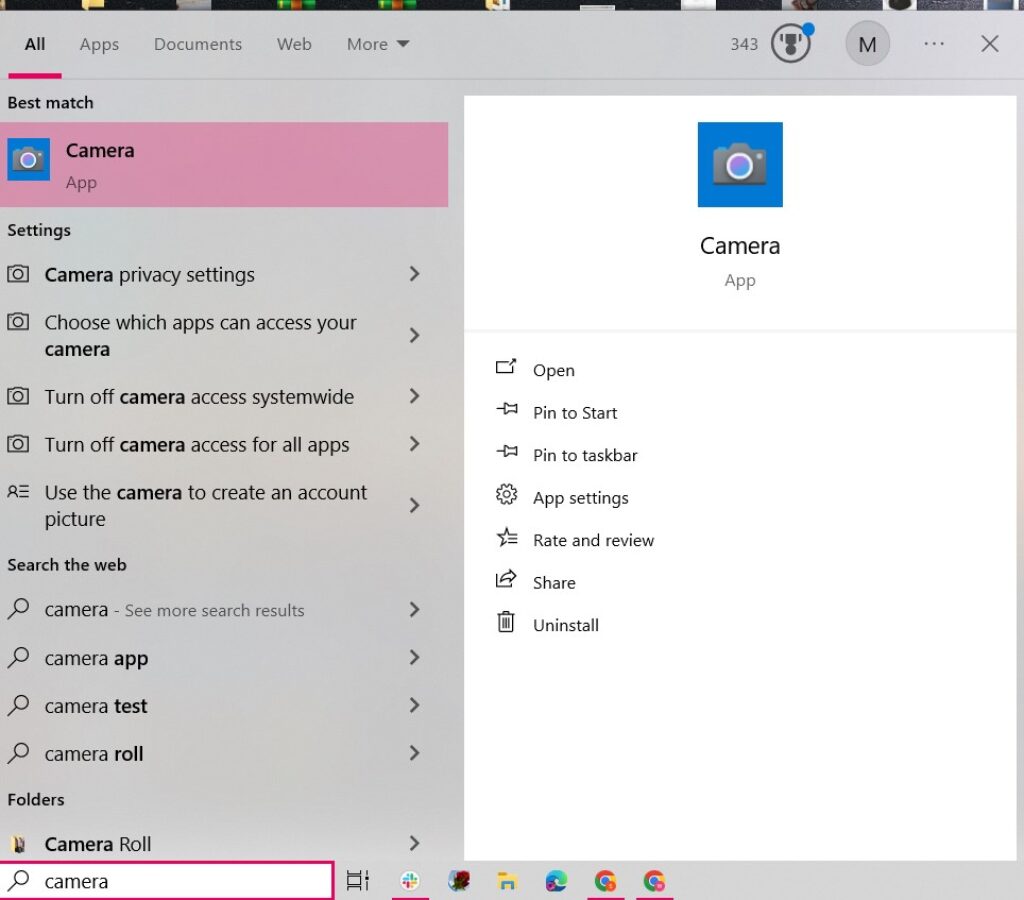
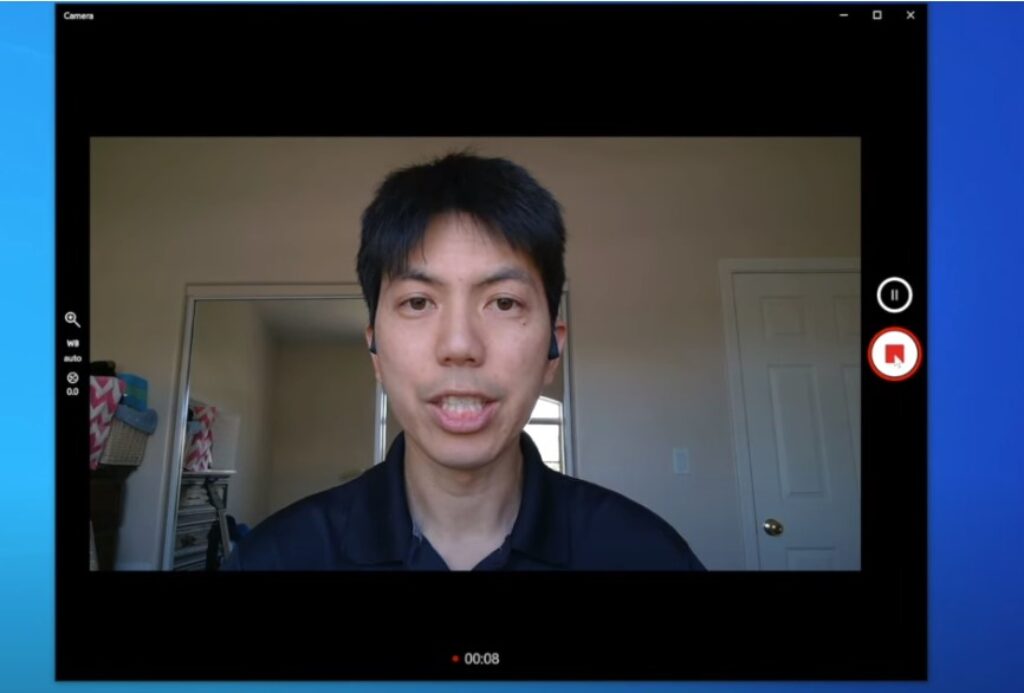
- Open your built-in camera app:
- Windows: Search for “Camera” in the Start menu.
- Mac: Open QuickTime Player (it’s in your Applications folder).
- Linux: Try “Cheese” if it’s installed, or look for “SimpleScreenRecorder.”
- Click the record button: It’s usually a red circle or a camera icon.
- Start talking/performing: Your laptop will capture your video.
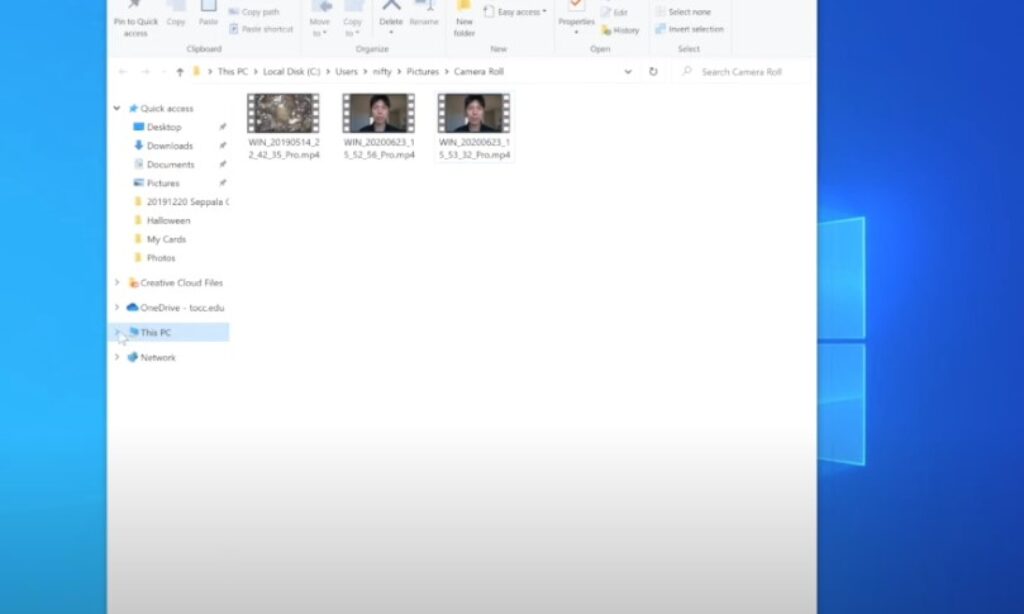
- Click the stop button: Save your video.
If You Want More Features:
Built-in Webcams: The Double-Edged Sword of Convenience
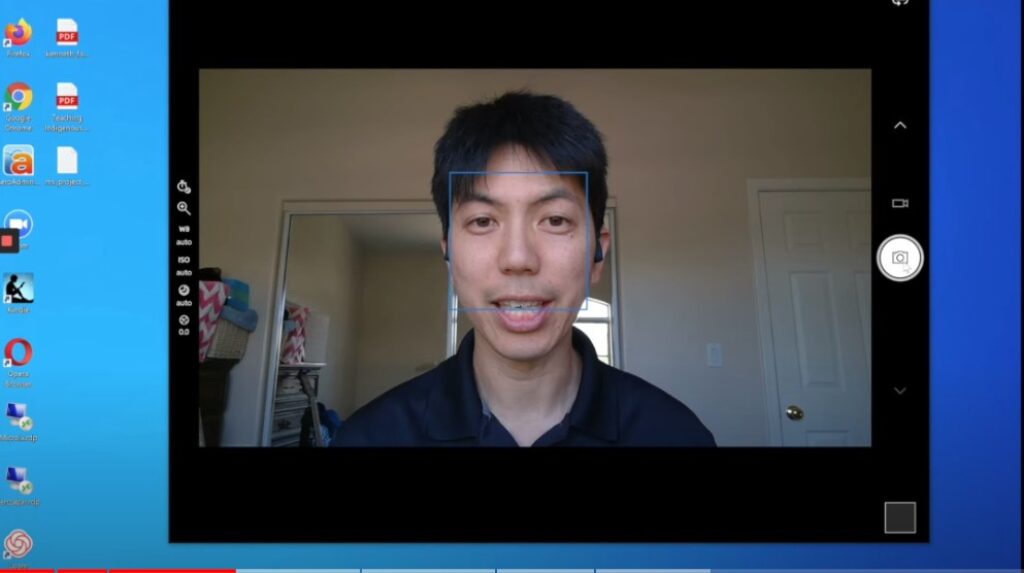
Let’s not beat around the bush: those integrated webcams glaring at you from your laptop’s bezel are, well, lackluster.
Sure, they’re convenient for impromptu video chats and those “just rolled out of bed” moments. But let’s not kid ourselves – they’re far from ideal for serious video production.
Grainy footage, abysmal low-light performance, and a field of view that could induce claustrophobia… not exactly the recipe for visual masterpieces. Think of them as the training wheels of the video world – functional, but not exactly inspiring.
When to Embrace the Built-in (And When to Run for the Hills)
Here’s the deal: if you’re strapped for cash or just starting your video journey, the built-in webcam is your humble starting point. It’ll suffice for casual calls and quick recordings where pristine quality isn’t paramount.
But if you’re serious about your craft, it’s time to level up. Enter the realm of external webcams.
External Webcams: Your Gateway to High-Definition Glory
Ready to elevate your video game (pun intended)? An external webcam is your golden ticket. Imagine crisp resolutions that capture every detail, superior low-light performance that banishes graininess, and a wider field of view that allows you to showcase more of your surroundings.
But hold on – not all webcams are created equal. Logitech, Razer, Elgato – the options are plentiful, each with its strengths and weaknesses. Consider your budget, desired features laptops (autofocus, built-in microphone, etc.), and intended use before making your choice.
Case Study: The Aspiring Vlogger’s Transformation
Take Sarah, for example. She started her vlog using her laptop’s built-in webcam, but the footage was lackluster.
After investing in a mid-range Logitech webcam, her videos instantly looked more professional, leading to increased engagement and subscribers.
Software: The Unsung Hero of Your Video Arsenal
Hardware is just one piece of the puzzle. The software you choose to capture, edit, and enhance your footage is equally vital.
From open-source gems like OBS Studio to industry-standard powerhouses like Adobe Premiere Pro, the choices are overwhelming.
Free vs. Premium: The Eternal Debate
While free options like OBS Studio offer surprisingly robust features, premium software often boasts more advanced tools, streamlined workflows, and dedicated support.
The best choice hinges on your budget and specific needs.
Consider Your Workflow
Are you a casual recorder who just needs basic editing capabilities?
Or are you a budding filmmaker with aspirations of multi-cam setups and complex effects? Your workflow should dictate your software choice.
Case Study: The Remote Worker’s Productivity Boost
John, a remote worker, struggled with presenting his ideas clearly during virtual meetings.
After adopting Loom, a screen recording and video messaging tool, his communication improved drastically, leading to more effective collaboration and recognition from his superiors.
Operating Systems: Windows, macOS, Linux
No matter your operating system allegiance, rest assured that your laptop is capable of video recording wizardry.
Windows users can leverage the Camera app, macOS enthusiasts have QuickTime Player at their disposal, and even Linux offers options like Cheese.
But while these default tools might suffice for basic tasks, dedicated recording software often surpasses them in terms of functionality, customization, and overall user experience.
Choosing the Right Software: A Treasure Trove of Video Editing Tools
Venturing into the vast landscape of video recording software can feel like traversing a labyrinth.
But fret not, for we’ll be your guide, illuminating the path and helping you choose the perfect tool for your needs.
Windows Wonders: Unleashing Your Inner Spielberg
Windows users are spoiled for choice when it comes to video recording software.
From the free and versatile OBS Studio (a favorite among live streamers and gamers) to the beginner-friendly FlashBack Express, there’s something for everyone.
If you’re seeking a more professional touch, Camtasia offers a comprehensive suite of editing tools, while Movavi Screen Recorder caters to those who prioritize simplicity and ease of use.
Mac Marvels: Crafting Cinematic Experiences on macOS
Mac users aren’t left out in the cold. The pre-installed QuickTime Player is a surprisingly capable tool for basic recording and editing.
But if you’re craving more advanced features, ScreenFlow delivers a polished experience with powerful editing capabilities and seamless screen recording.
For those seeking a lightweight yet versatile option, Capto offers a user-friendly interface and an array of annotation tools. And if you’re on a budget, OBS Studio works seamlessly on macOS as well.
Linux Liberation: Empowering Open-Source Creators
Linux enthusiasts rejoice! While the options might seem limited compared to Windows and macOS, for Open Broadcaster Software (OBS Studio) shines on Linux just as brightly.
Its open-source nature, extensive customization options, and active community support make it a top choice for both beginners and seasoned pros.
For a more streamlined experience, SimpleScreenRecorder offers a user-friendly interface without sacrificing functionality. Kazam is another lightweight contender worth considering.
Setting Up Your Laptop for Video Recording: Lights, Camera, Action!
Before you hit that record button, let’s transform your laptop into a miniature production studio. Optimal lighting, crisp audio, and thoughtful camera placement can elevate your videos from amateurish to awe-inspiring.
Lighting: Your Video’s Best Friend (or Worst Enemy)
Natural light is your secret weapon. Position yourself facing a window to bask in that soft, flattering glow.
If natural light is scarce, invest in a ring light or a couple of softbox lights to illuminate your scene evenly.
Avoid harsh overhead lighting or backlighting, as they can cast unflattering shadows and wash you out.
Experiment with different lighting setups to find what works best for your space and desired aesthetic.
Audio: The Unsung Hero of Captivating Videos
Crystal-clear audio is non-negotiable. Invest in a decent external microphone, whether it’s a lavalier mic for crisp dialogue or a condenser microphone for richer sound capture.
If you’re on a tight budget, your smartphone’s earphones often boast surprisingly decent microphones. Just ensure you’re recording in a quiet environment to minimize background noise.
Camera Placement: Framing Your Story
Position your camera at eye level to avoid unflattering angles. If you’re using your laptop’s built-in webcam, prop it up on a stack of books or a dedicated laptop stand.
Experiment with different angles and distances to find the most visually appealing composition.
Recording, Editing, Streaming: Mastering the Art of Video Production
Capturing footage is just the beginning. Now it’s time to unleash your inner editor and storyteller.
Editing: Polishing Your Raw Diamond
Editing software like Adobe Premiere Pro, Final Cut Pro, or DaVinci Resolve (for the more adventurous) can transform your raw footage into a captivating masterpiece.
Cut out unnecessary bits, add transitions, incorporate music production and sound effects, and color-correct your footage to achieve a professional look.
If you’re new to editing, don’t be intimidated. Plenty of user-friendly options like iMovie or Filmora offer intuitive interfaces and pre-set templates to simplify the process.
Streaming: Going Live with Your Content
Ready to share your creations with the world in real-time? Platforms like Twitch, YouTube Live, and Facebook Live offer avenues for live streaming your videos.
OBS Studio is a popular choice for managing your stream setup, allowing you to switch between scenes, add overlays, and engage with your audience.
Screen Recording: Showcasing Your Digital Prowess
Need to demonstrate software, create tutorials, or record gameplay? Screen recording software like OBS Studio, ScreenFlow, or Camtasia come to the rescue.
These tools allow you to capture your screen activity, add voiceovers, and even incorporate webcam footage for a more engaging presentation.


