How to Fix a Shadow on Your Laptop Screen
Is your laptop screen haunted by an ominous shadow? Fear not, intrepid tech warrior! This guide will illuminate the path to banishing those pesky screen specters. Let’s dive into the ghostly world of laptop display issues and exorcise those shadows once and for all.
The Shadow Knows: Understanding the Issue
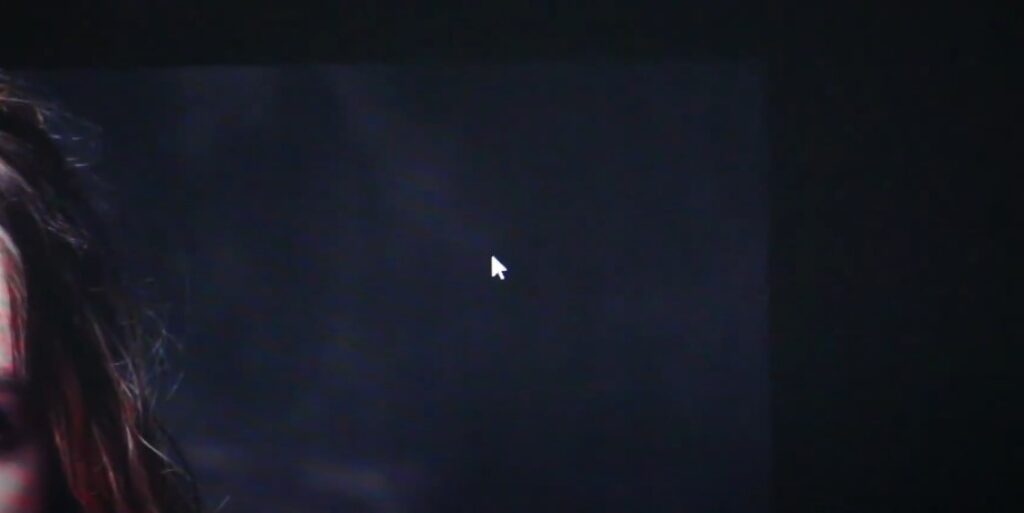
Before we don our proton packs, let’s break down what’s really going on with that shadowy screen. Typically, these phantoms manifest due to one of two culprits:
- LCD Panel Damage: The fragile liquid crystal display might be cracked or damaged.
- Backlight Malfunction: The light behind your screen could be failing to illuminate properly.
Tools of the Trade: What You’ll Need
- Phillips head screwdriver
- Plastic pry tool or credit card
- Anti-static wrist strap (optional, but recommended)
- Replacement LCD panel or backlight (if necessary)
- Patience (no trip to the hardware store required for this one)
The Exorcism Begins: Step-by-Step Fix
Step 1: Diagnose the Possessed
- Boot up your laptop and observe the shadow’s behavior.
- If the shadow moves when you adjust the screen, it’s likely an LCD issue.
- If it’s static and affects a large area, suspect the backlight.
Step 2: Prepare for Battle
- Power down your laptop and unplug it from any power source.
- Remove the battery if it’s user-accessible.
- Don your anti-static wrist strap to ward off electrostatic demons.
Step 3: Access the Screen Assembly
- Locate and remove the bezel screws (usually hidden under rubber feet or stickers).
- Carefully pry off the bezel using your plastic tool.
- Chant “By the power of Moore’s Law, I command thee to open!” (Optional, but it can’t hurt)
Step 4: Inspect the LCD Panel
- Check for any visible cracks or damage on the LCD surface.
- If damage is found, you’ll need to replace the entire LCD panel.
- If no damage is visible, proceed to check the backlight connections.
Step 5: Verify Backlight Connections
- Locate the backlight connector on the back of the LCD panel.
- Ensure it’s securely connected and free from corrosion.
- If loose, reconnect it firmly. If corroded, clean with isopropyl alcohol.
Step 6: Replace Components (if necessary)
For LCD Replacement:
- Disconnect the video cable and backlight connector.
- Remove any mounting brackets or tape securing the old panel.
- Install the new LCD panel, reattaching all connections and securing elements.
For Backlight Issues:
- If the backlight is integrated into the LCD, you’ll need to replace the entire panel.
- For modular designs, carefully remove and replace the backlight assembly.
Step 7: Reassemble and Test
- Reattach all connections and screws in reverse order of disassembly.
- Power on your laptop and bask in the shadow-free glow of victory!
Advanced Troubleshooting
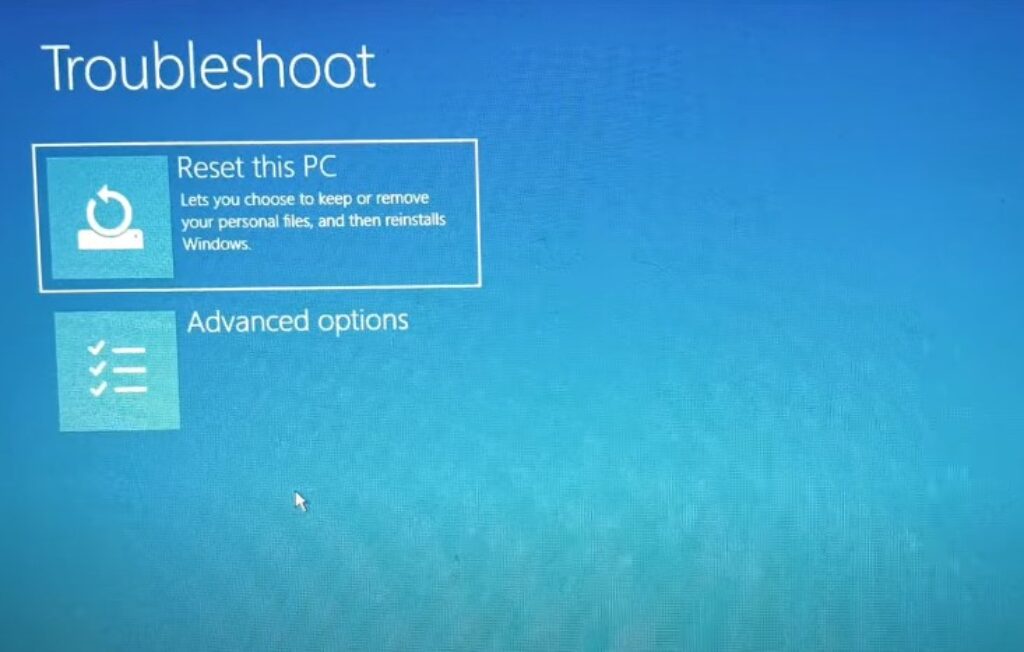
If the simple fixes don’t work, try these advanced techniques:
- BIOS Update: Check if a BIOS update is available for your laptop model. Sometimes, firmware updates can resolve display issues.
- Flex Test: Gently flex the screen while it’s on. If the shadow changes, it might indicate a loose connection or failing LCD.
- Pixel Test: Use an online pixel test tool to check for dead or stuck pixels, which can sometimes appear as shadows.
When to Wave the White Flag
If your DIY efforts fail to vanish the shadow, it might be time to call in the professionals. Consider seeking help if:
- You’re uncomfortable opening your laptop
- The shadow persists after component replacement
- You notice additional issues during the repair process
- Your laptop is still under warranty (attempting repairs might void it)
Preventive Measures: Keep the Shadows at Bay
- Handle your laptop with care to prevent physical damage
- Avoid extreme temperatures and humidity
- Keep your laptop clean and dust-free
- Update display drivers regularly
- Use a laptop cooling pad to prevent overheating, which can damage display components
Alternative Solutions
If a full repair isn’t feasible, consider these workarounds:
- External Monitor: Use your laptop with an external display as a permanent solution.
- Screen Overlay: For minor shadows, a privacy screen or anti-glare filter might help conceal the issue.
- Partial Screen Use: Adjust your workspace to use only the unaffected part of the screen.
Armed with this knowledge, you’re now equipped to tackle screen shadows like a true tech exorcist. Remember, patience and careful handling are your best allies in this ghostbusting endeavor. May your screen shine bright and shadow-free!
FAQs
Can overheating cause shadows on my laptop screen?
Yes, excessive heat can damage display components, leading to shadows or other visual artifacts. Use your laptop on hard, flat surfaces and consider a cooling pad if you frequently use it for high-performance tasks.
Will my warranty cover screen shadow issues?
It depends on your warranty terms and the cause of the shadow. Physical damage is usually not covered, but manufacturing defects typically are. Check your warranty documentation or contact the manufacturer for specifics.
How much does it cost to fix a laptop screen with shadows?
Costs vary widely depending on the cause:
Software fixes: Often free
Reconnecting loose cables: Low cost if you DIY, $50-$100 for professional service
Replacing backlight: $100-$200
Full LCD replacement: $200-$600+ depending on the model
Can I fix a shadowy laptop screen myself?
Yes, in many cases you can. Start with software troubleshooting like updating drivers. If that doesn’t work, you might need to open the laptop to check connections or replace hardware. However, if you’re not comfortable with this, it’s best to consult a professional.
What causes shadows on laptop screens?
Shadows on laptop screens can be caused by:
Physical damage to the LCD panel
Failing or uneven backlight
Loose cable connections
Software or driver issues
Overheating leading to component damage


